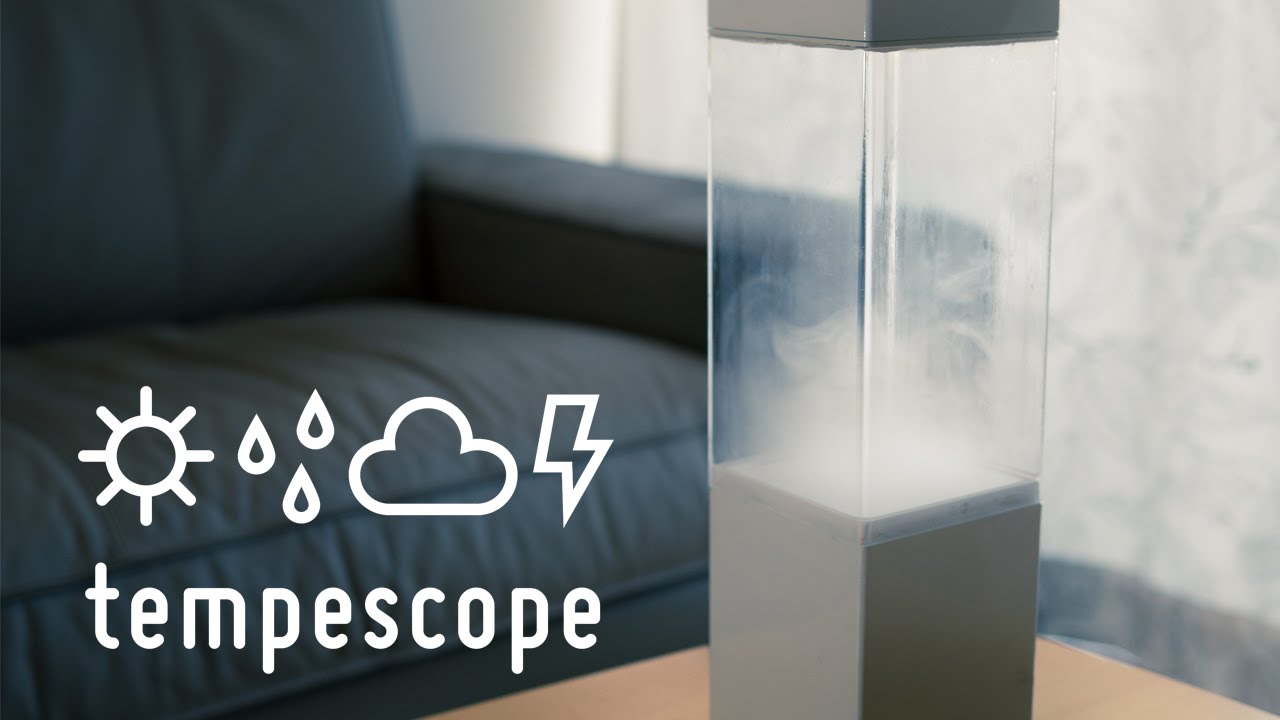
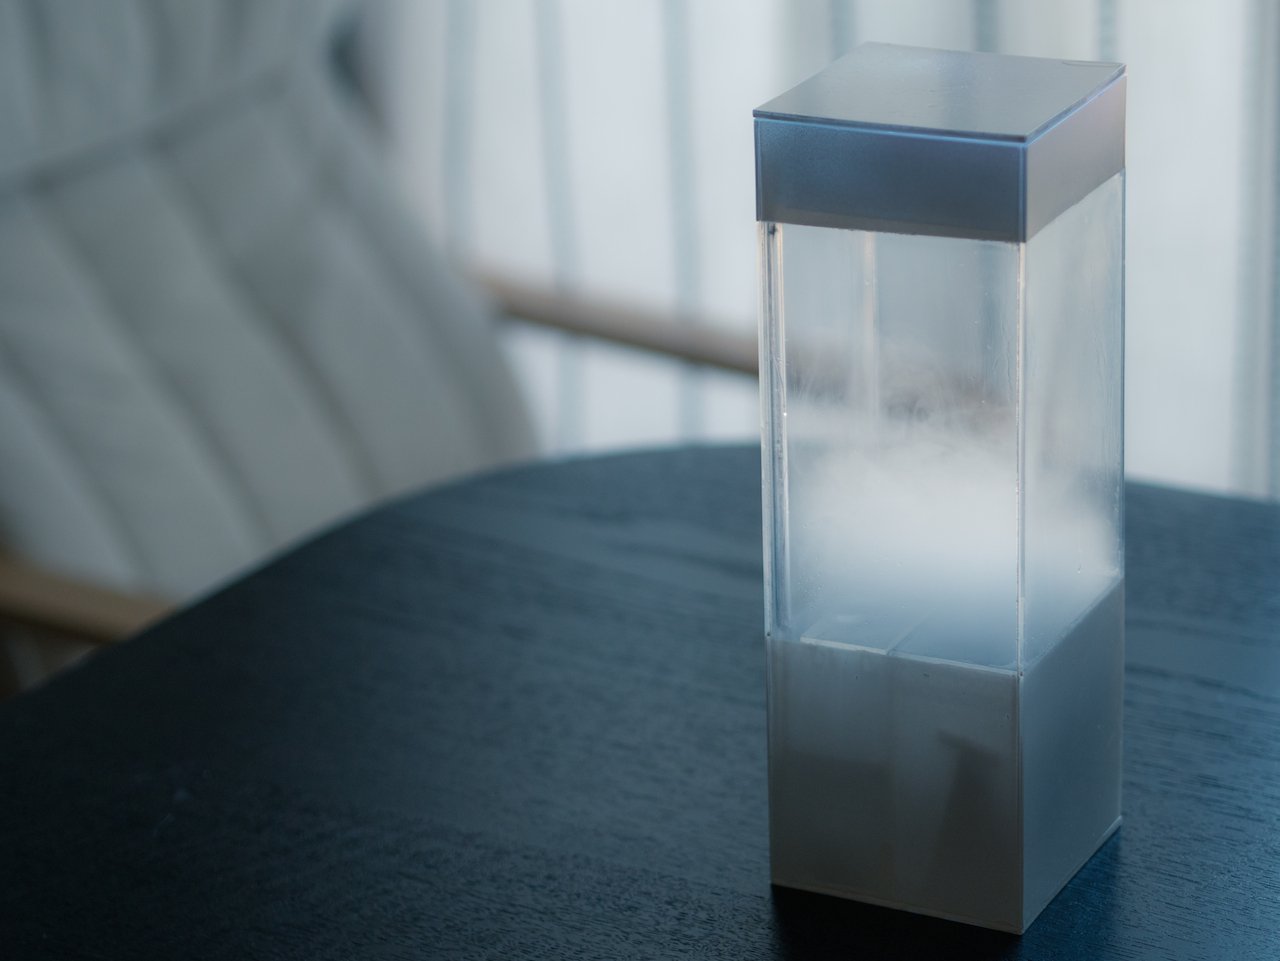
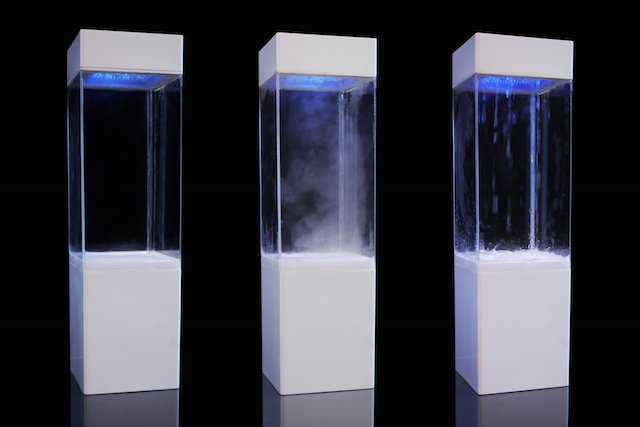
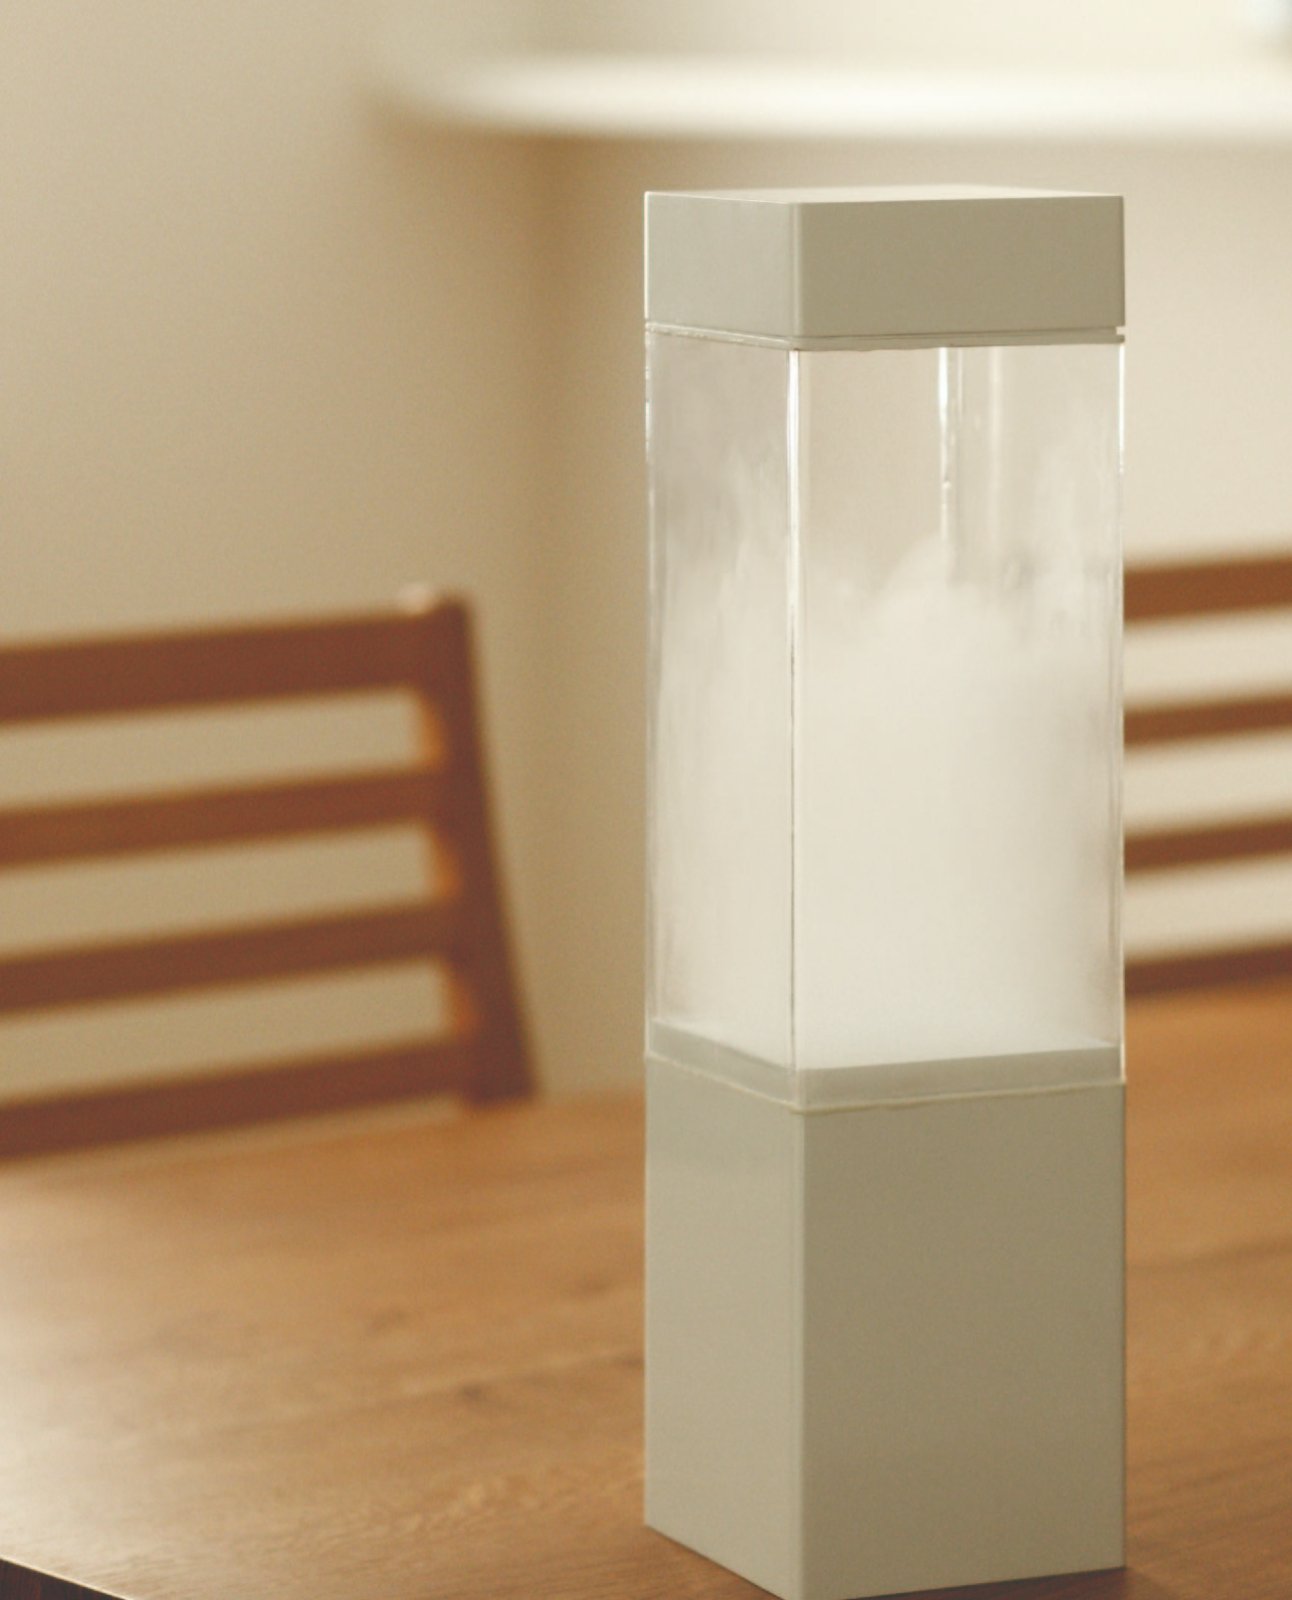
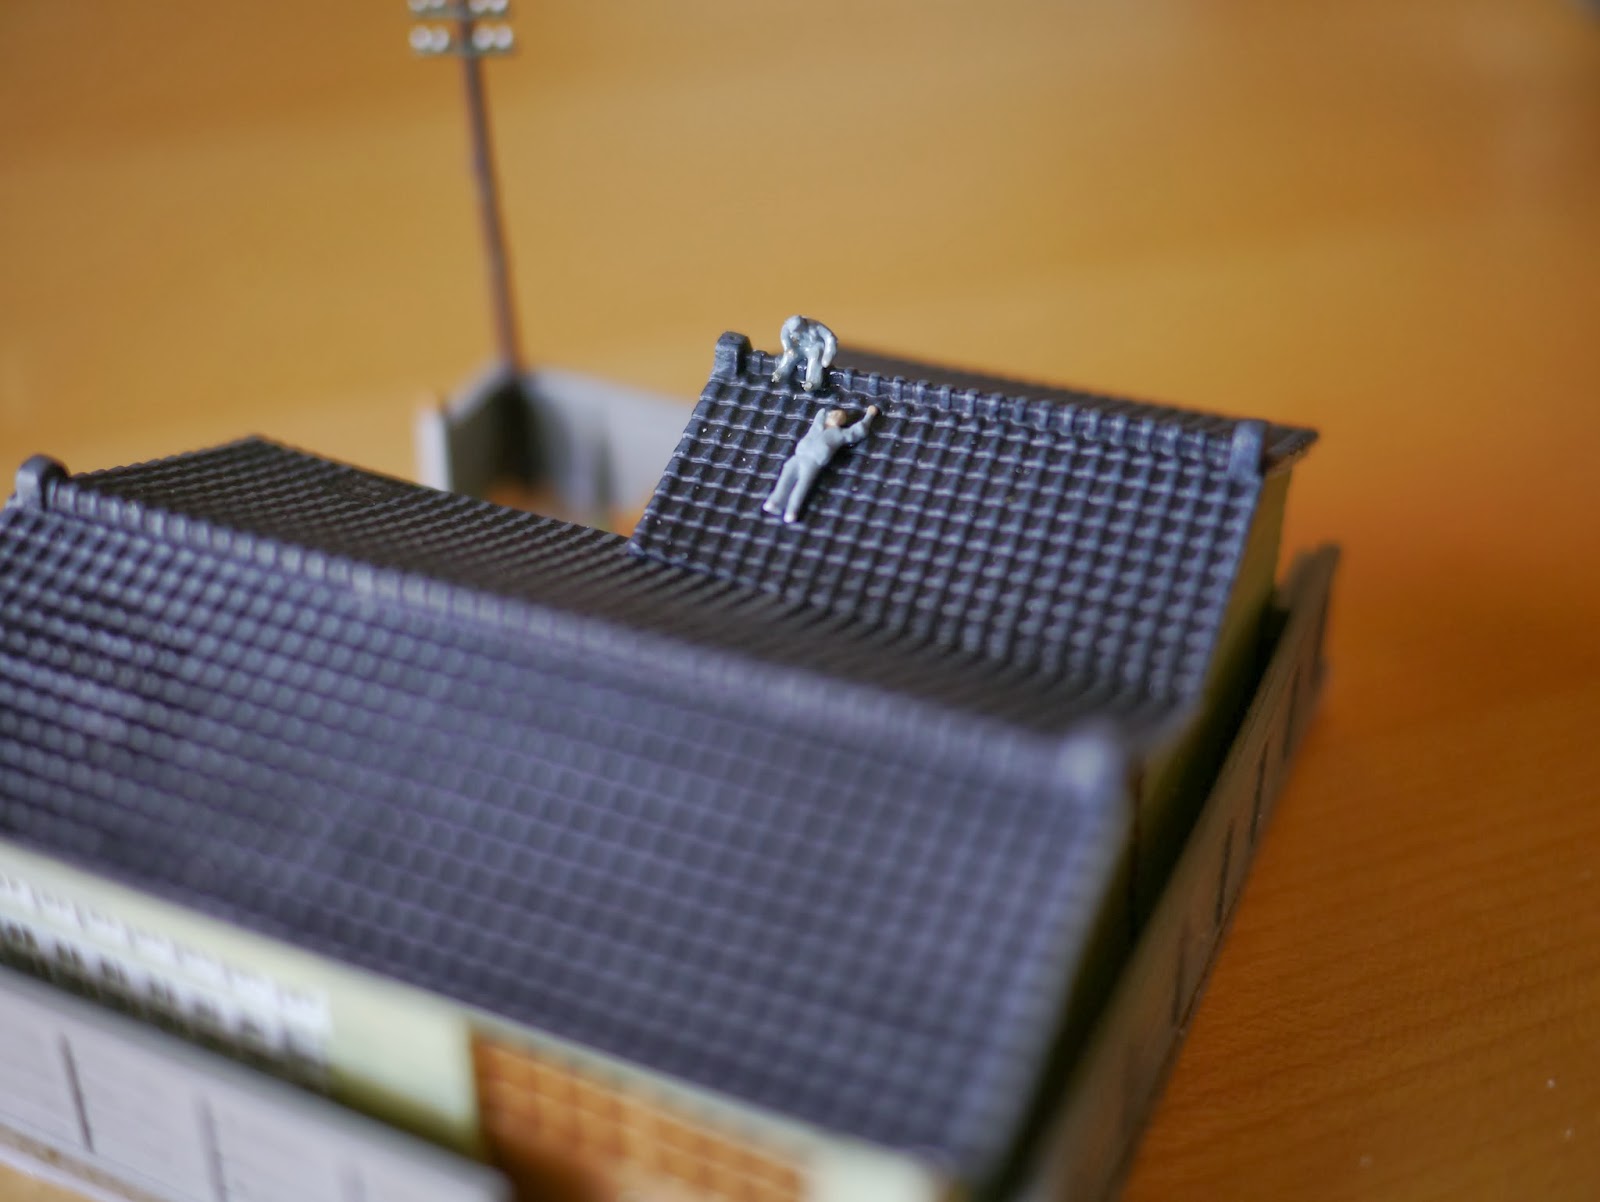
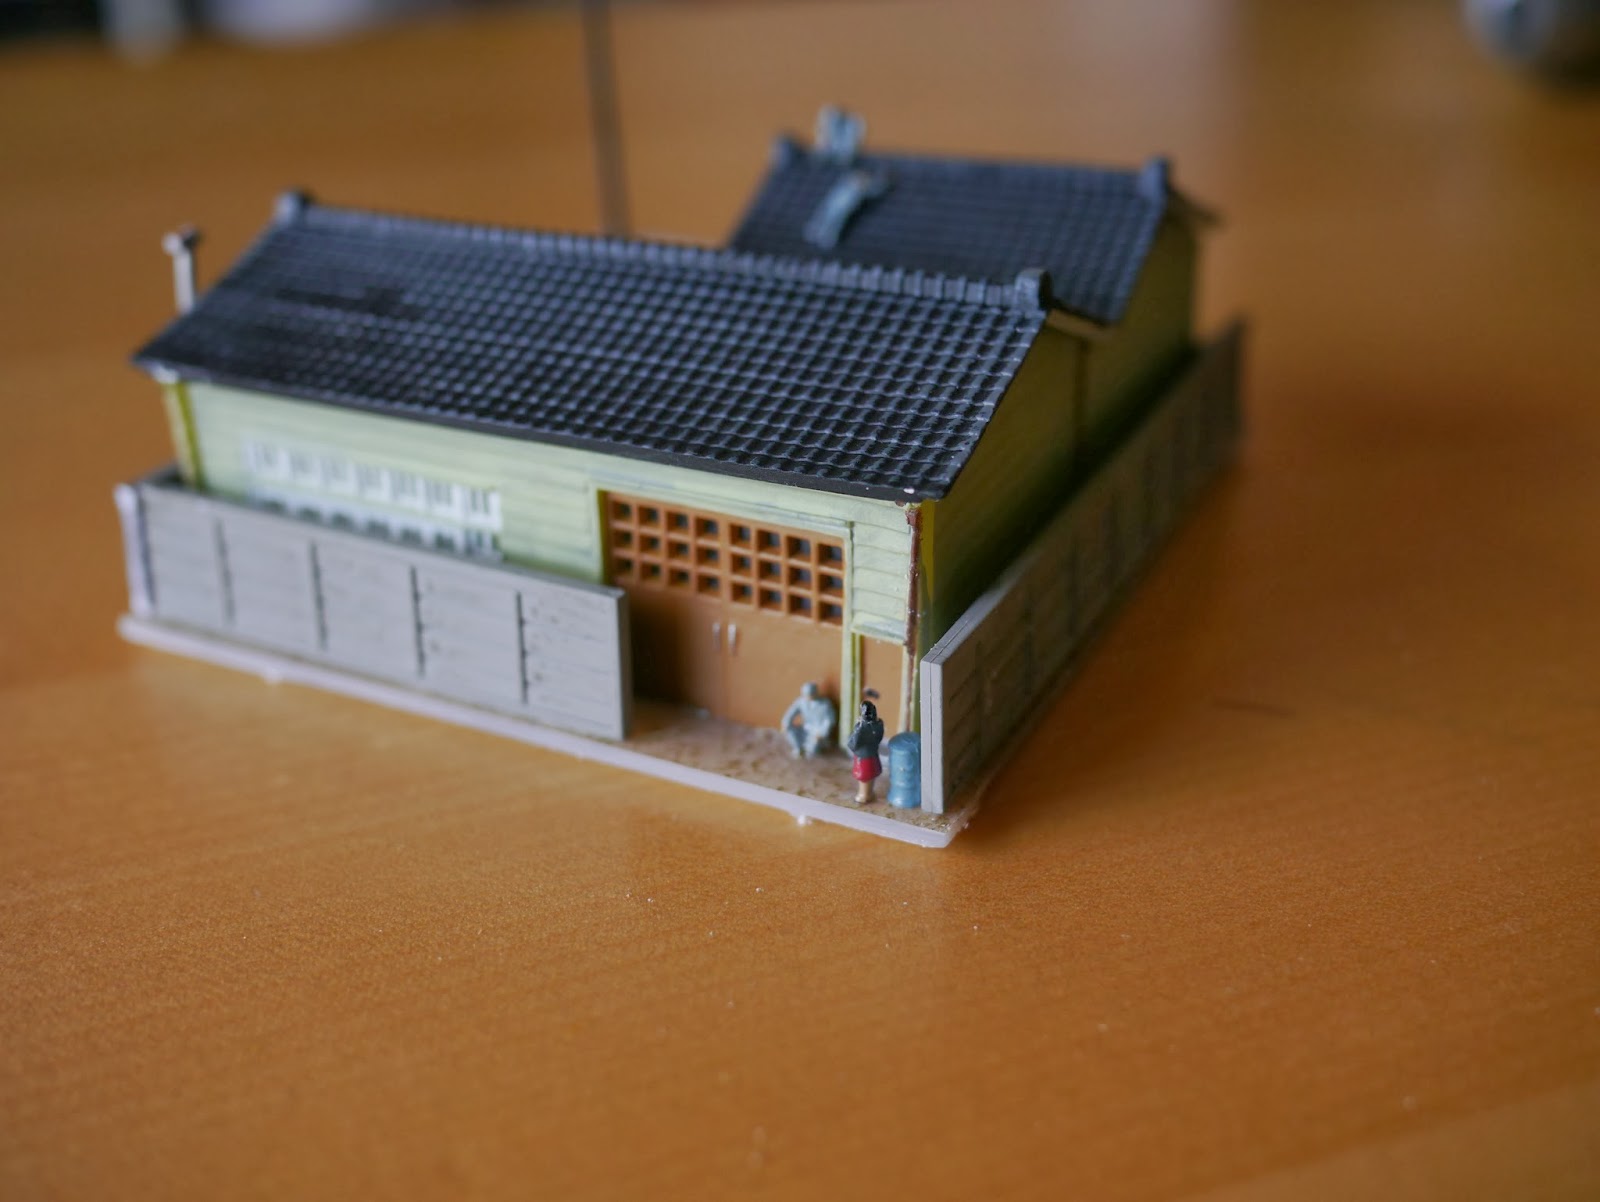
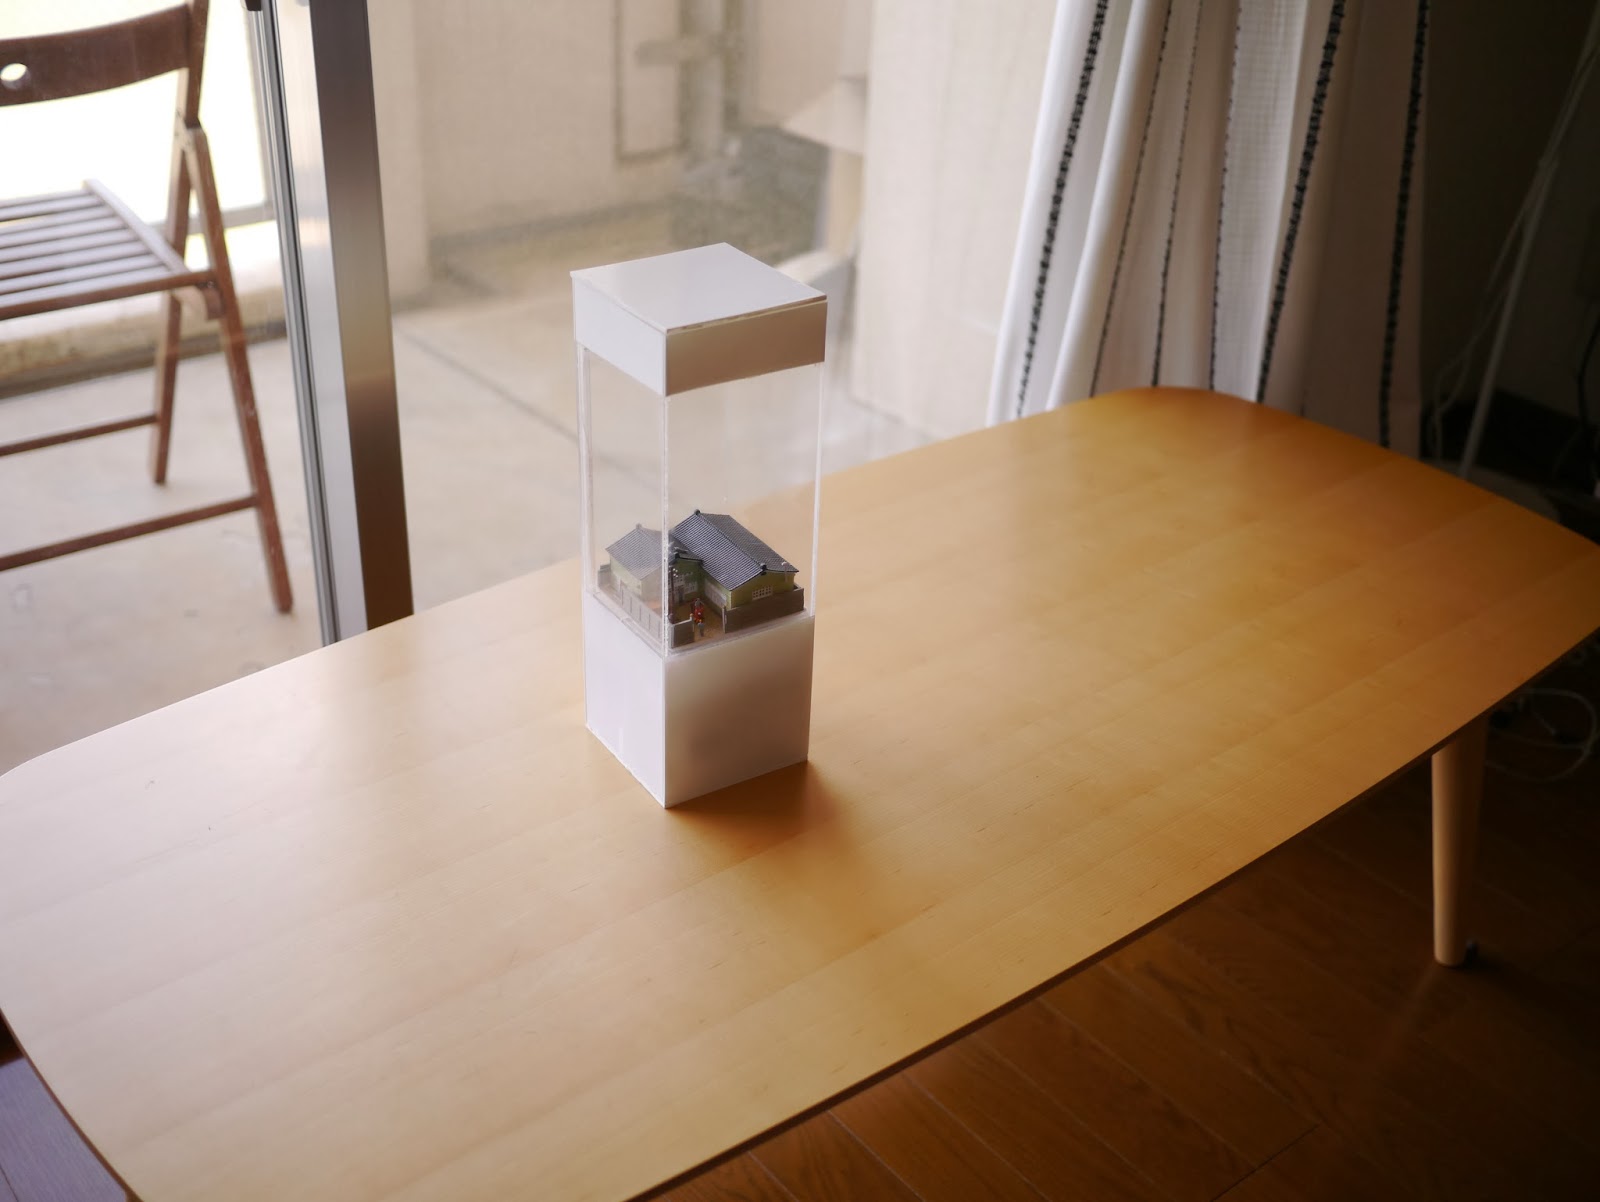
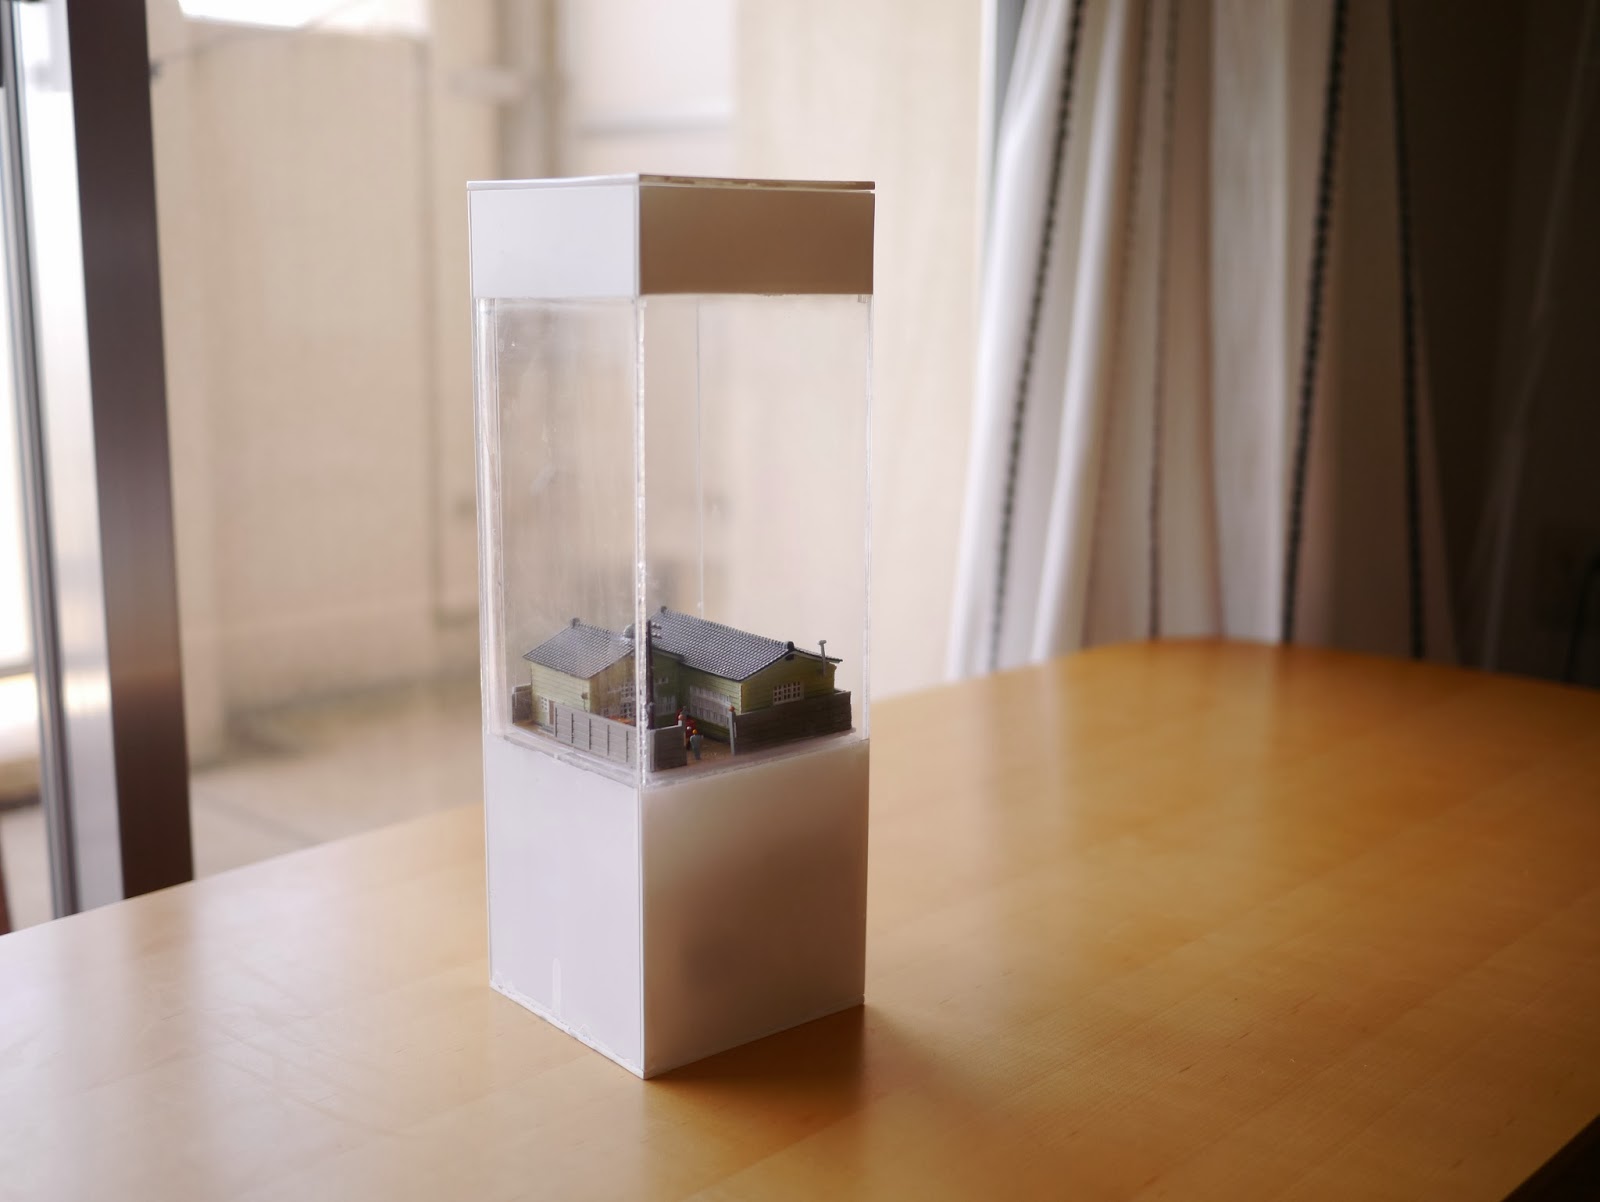
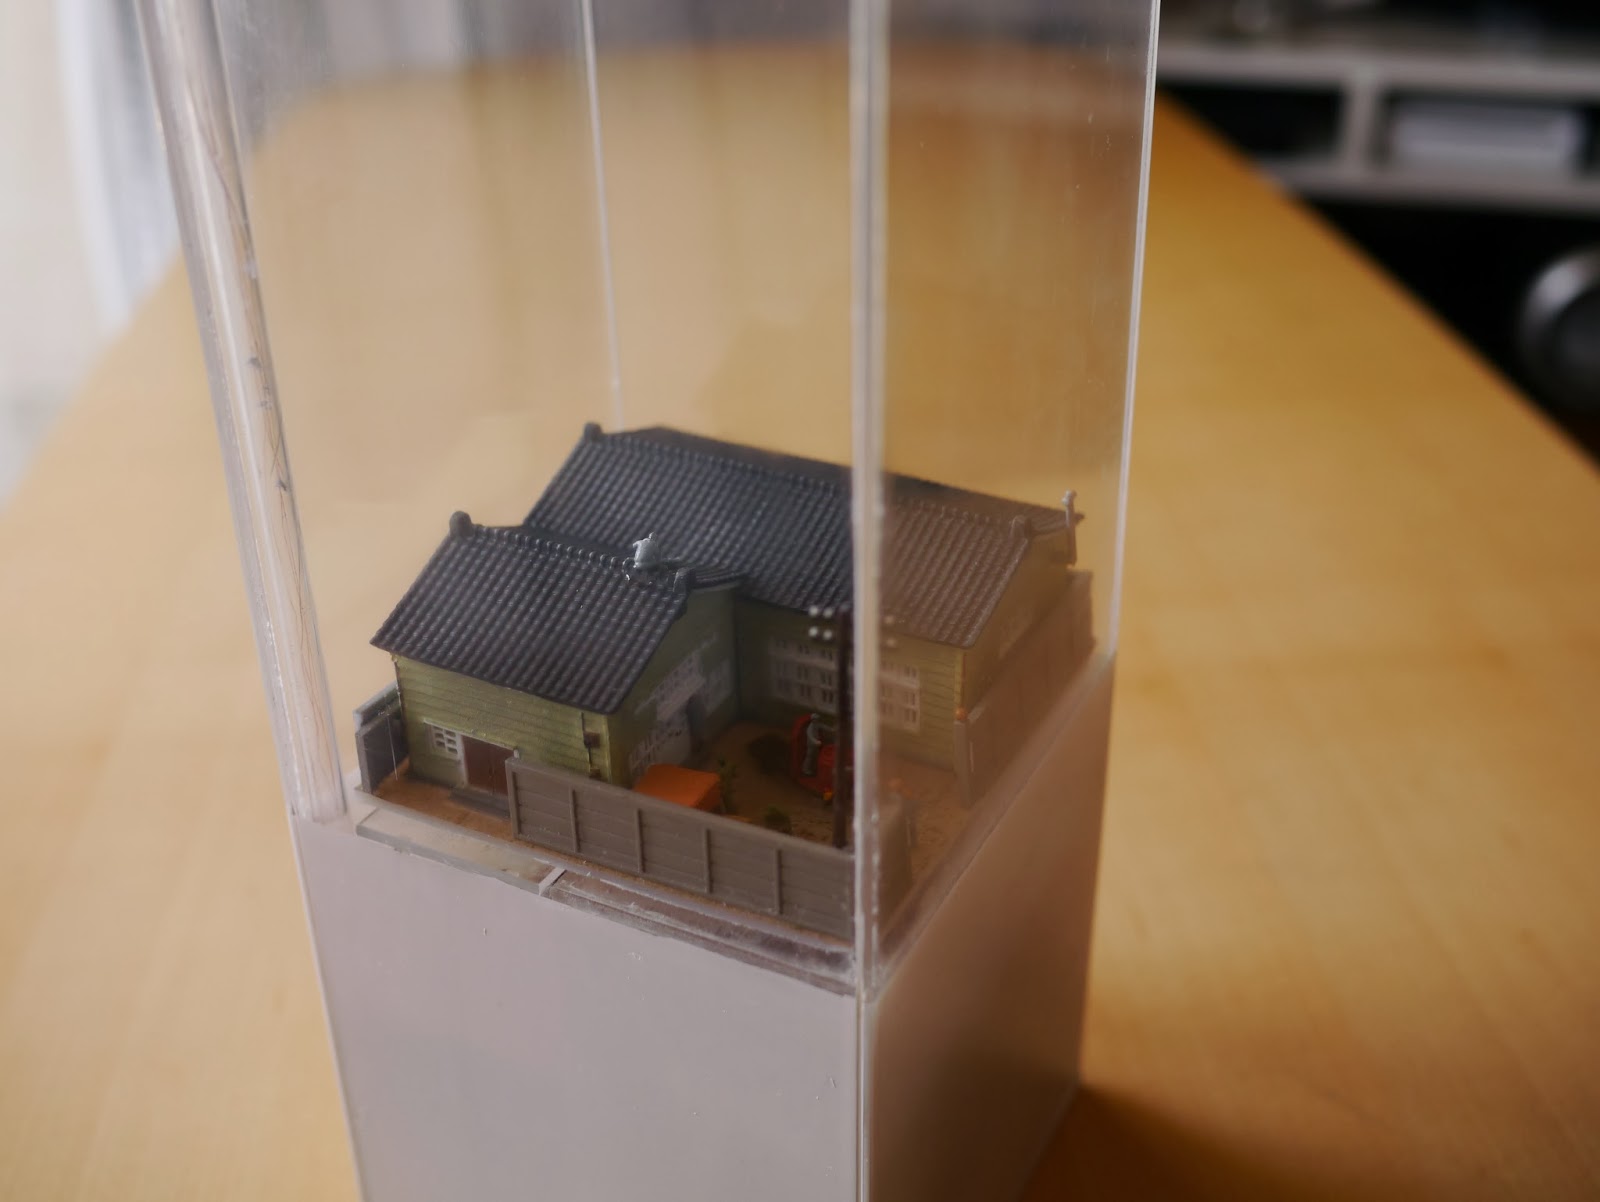
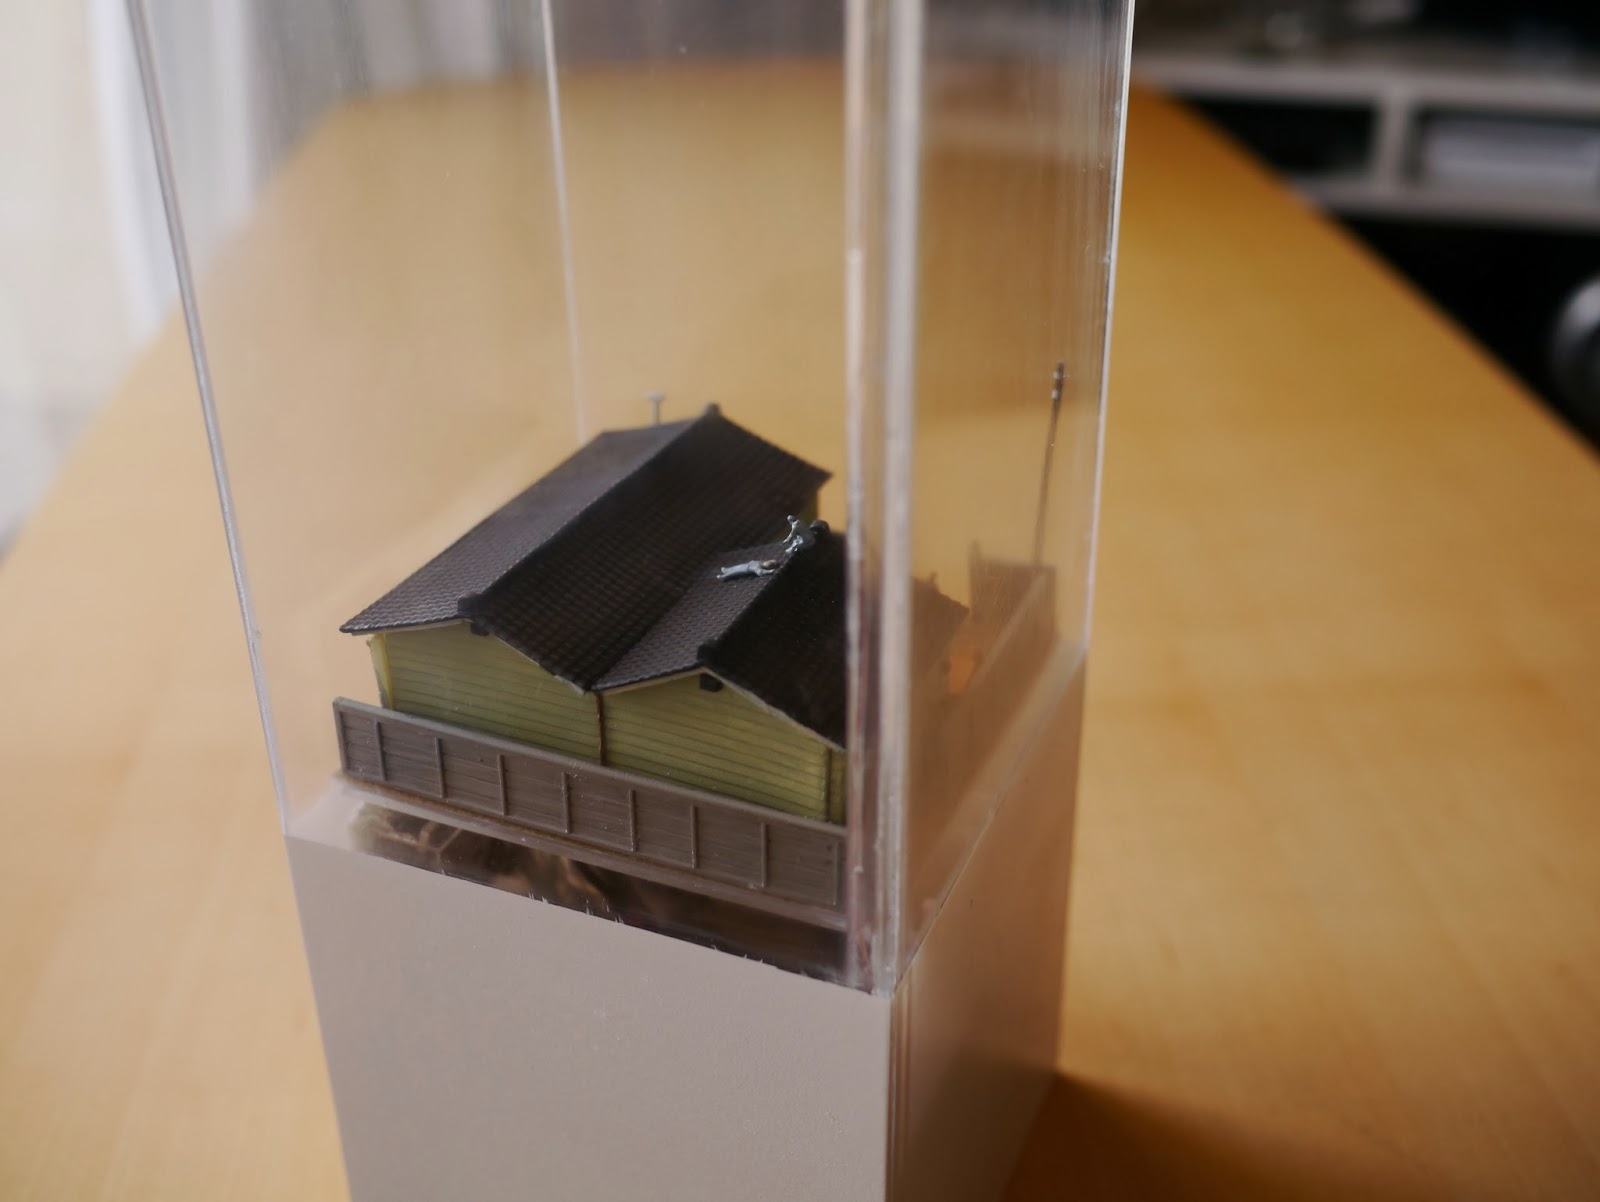
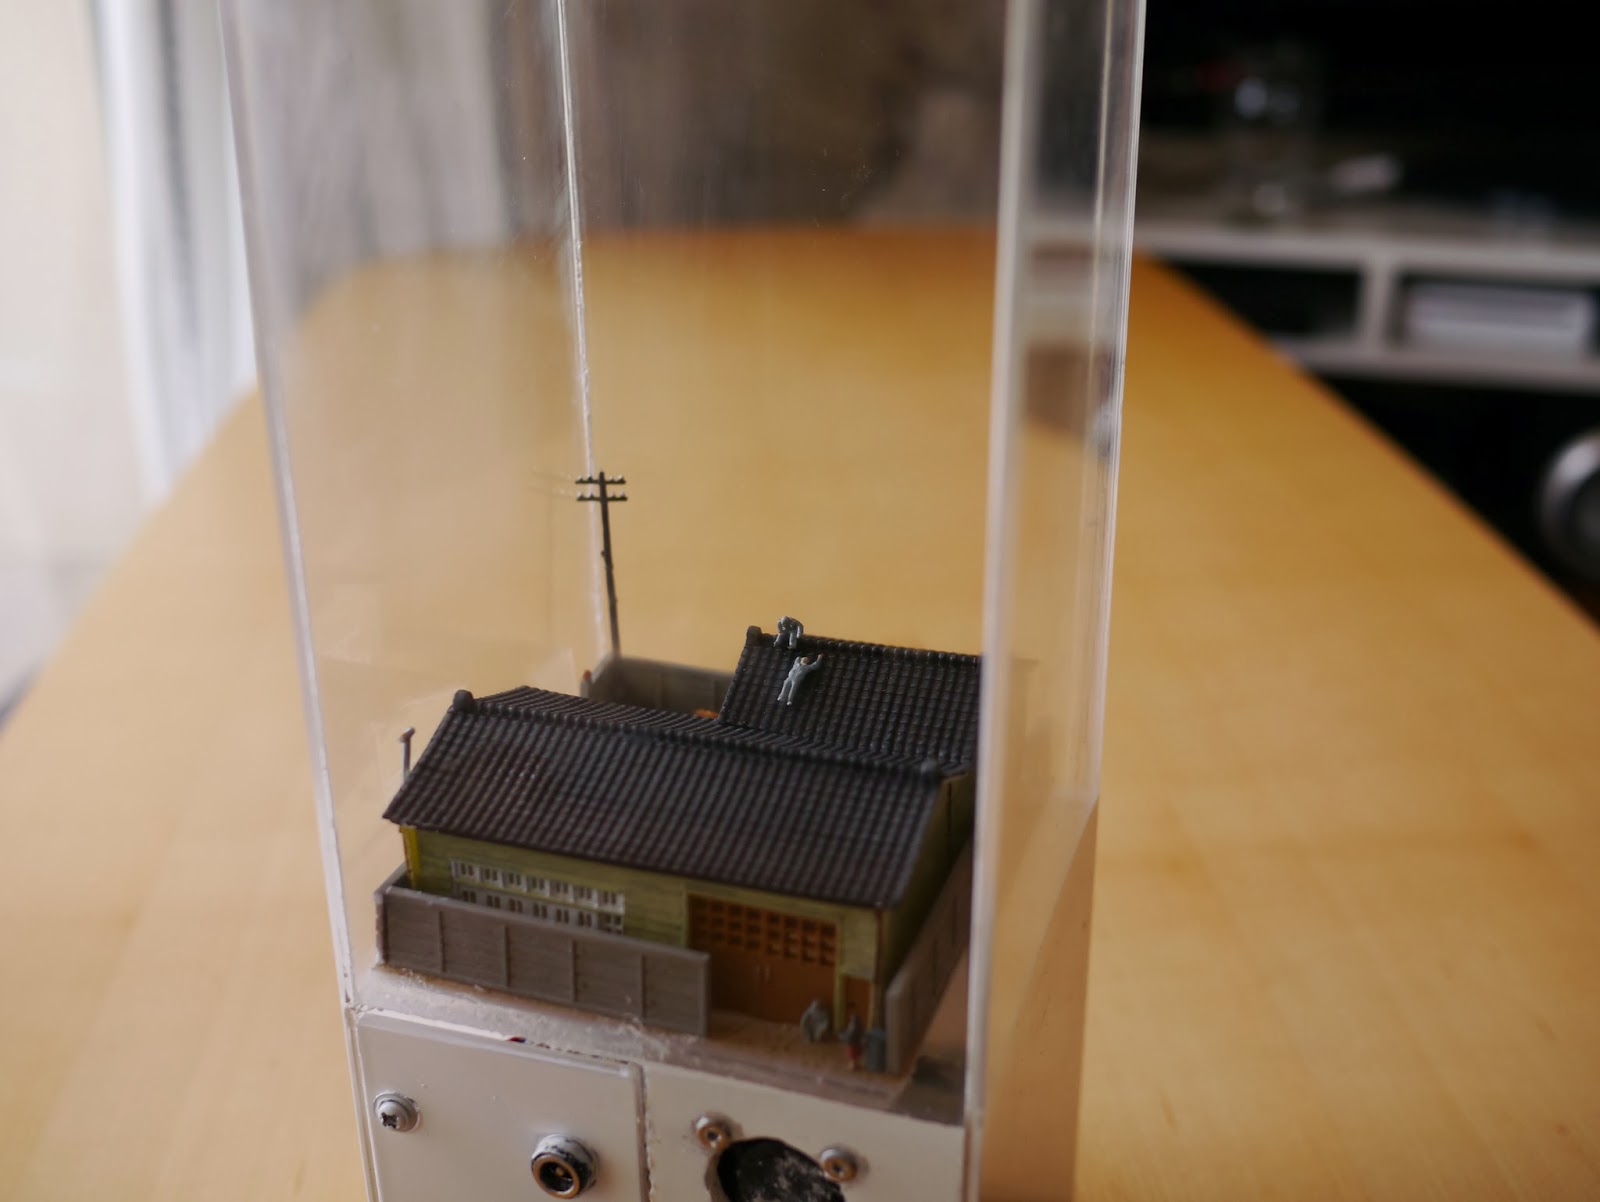
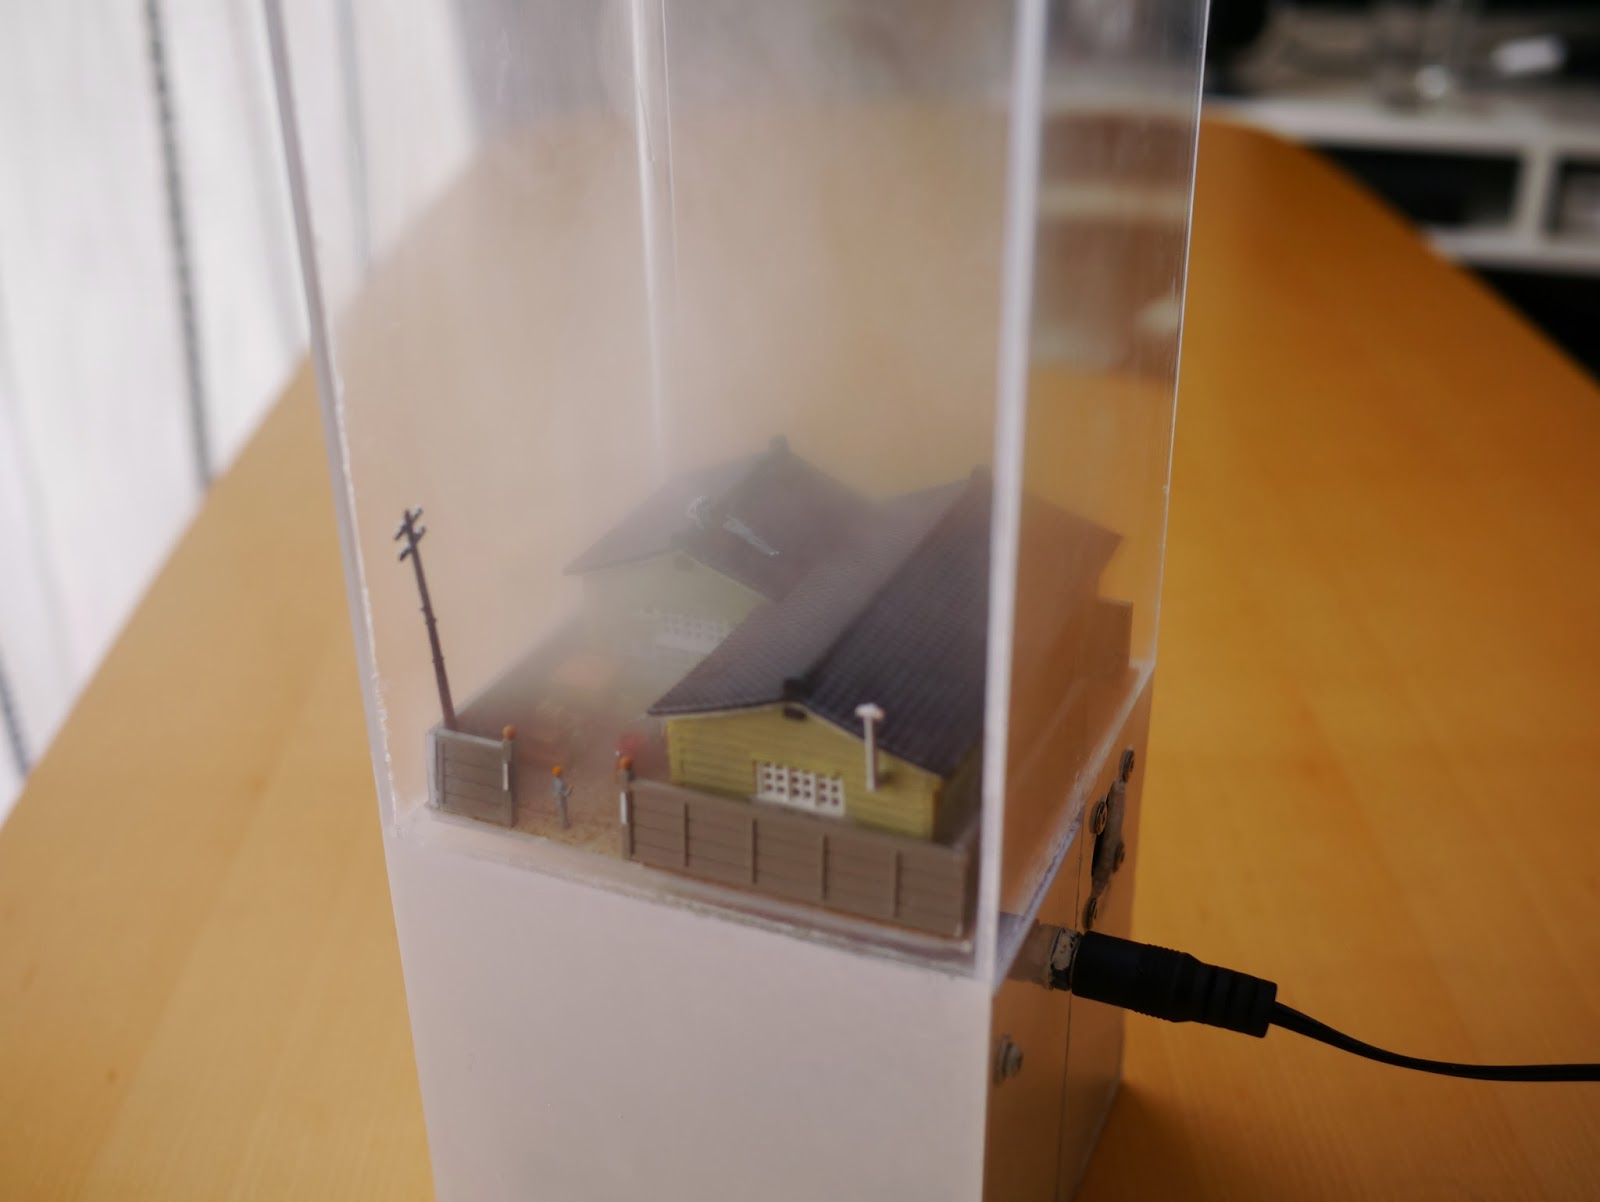
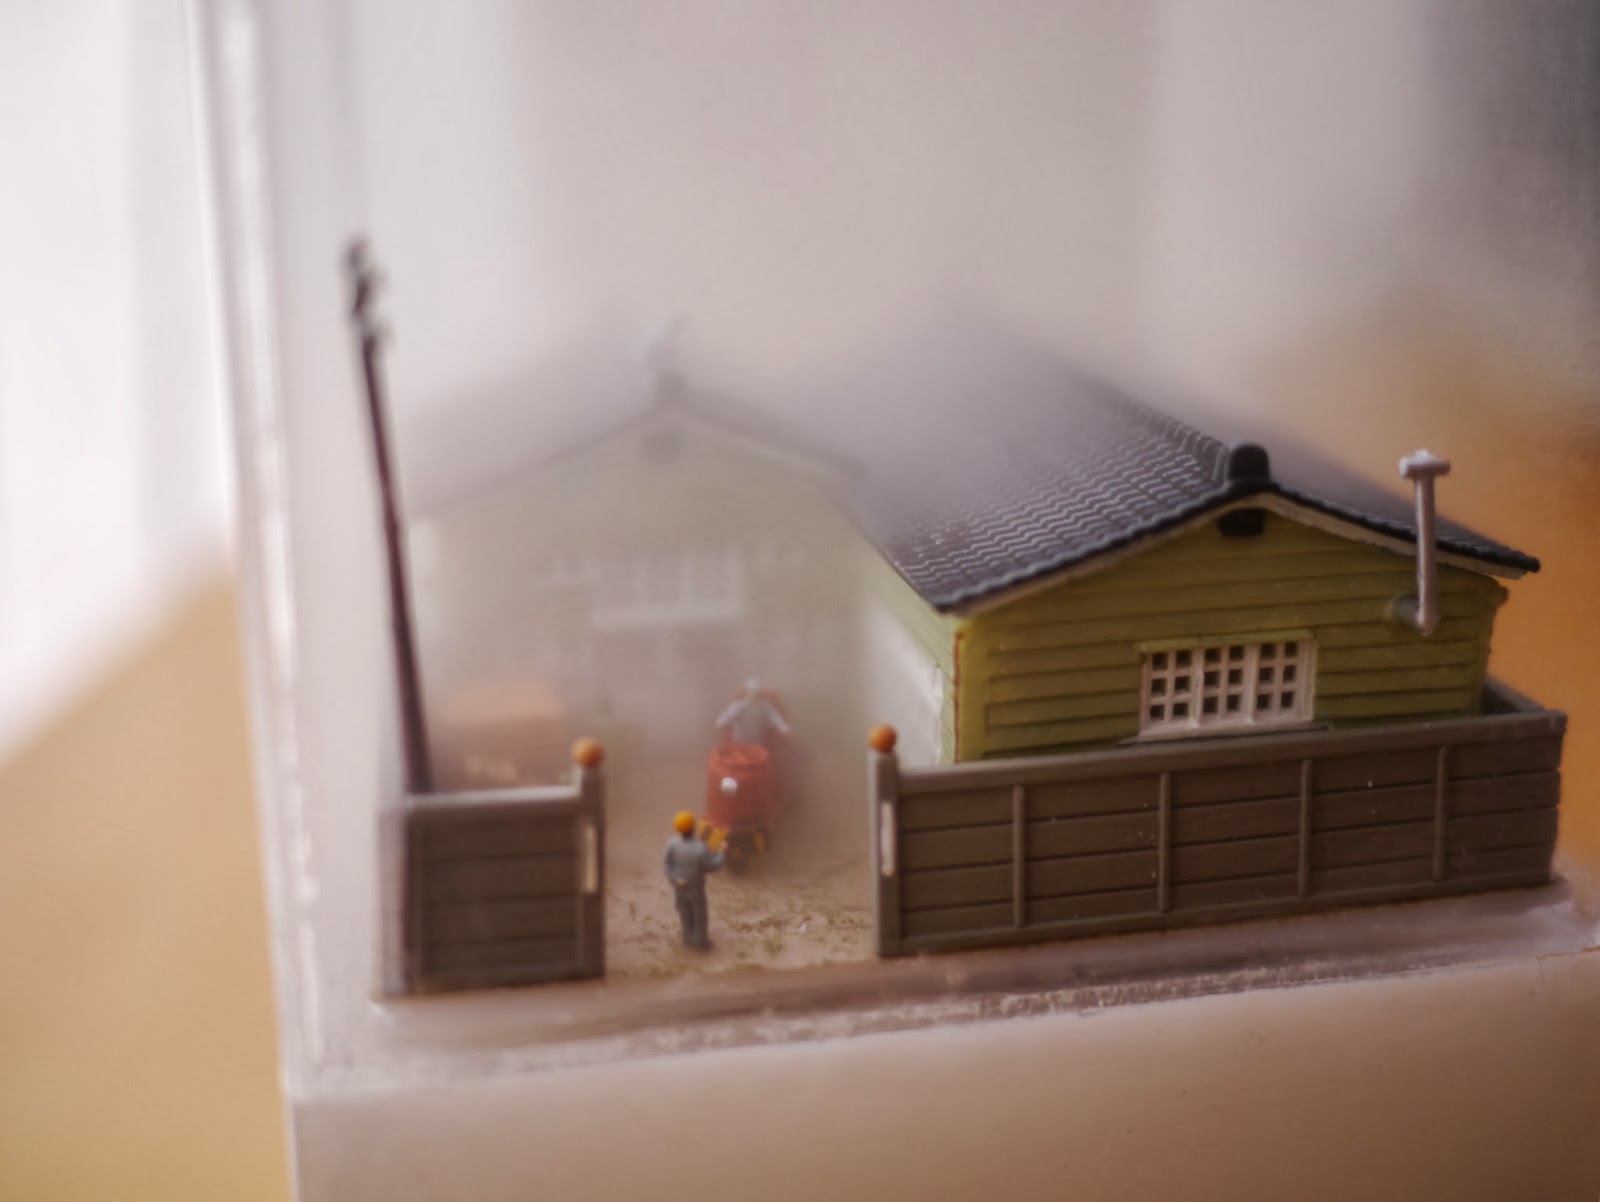
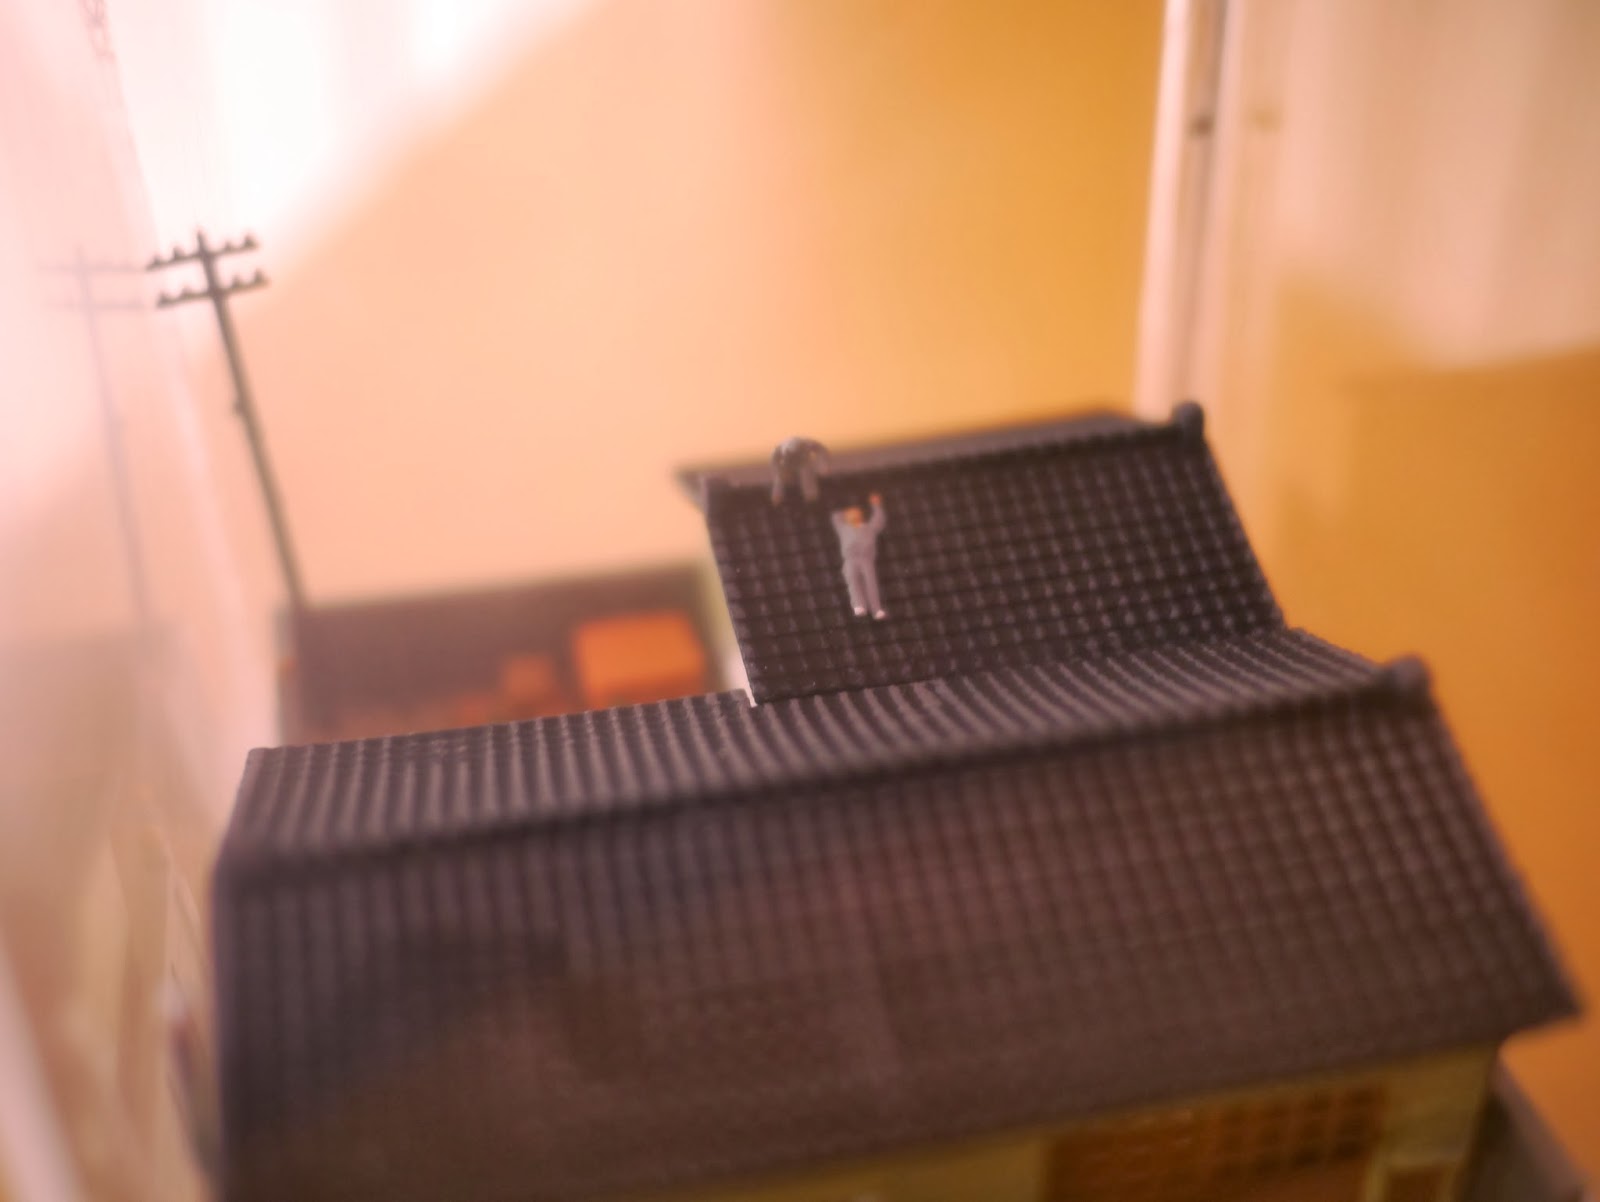
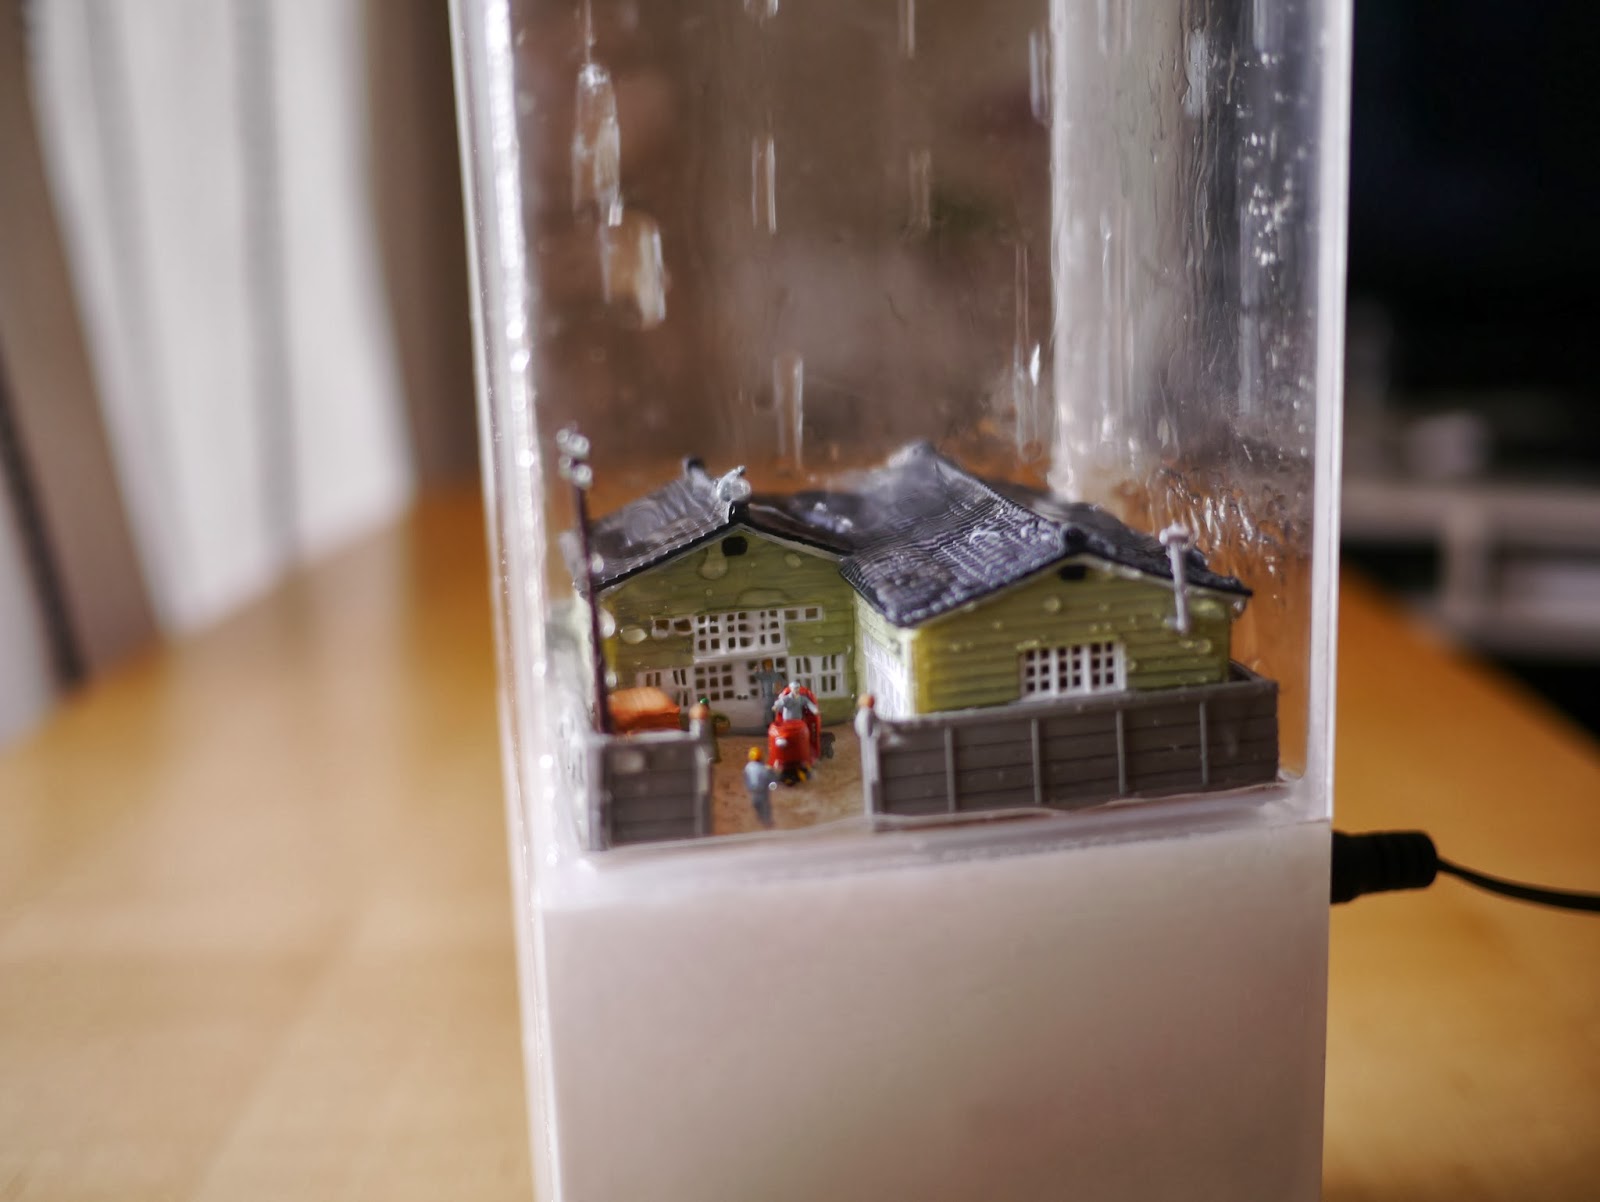
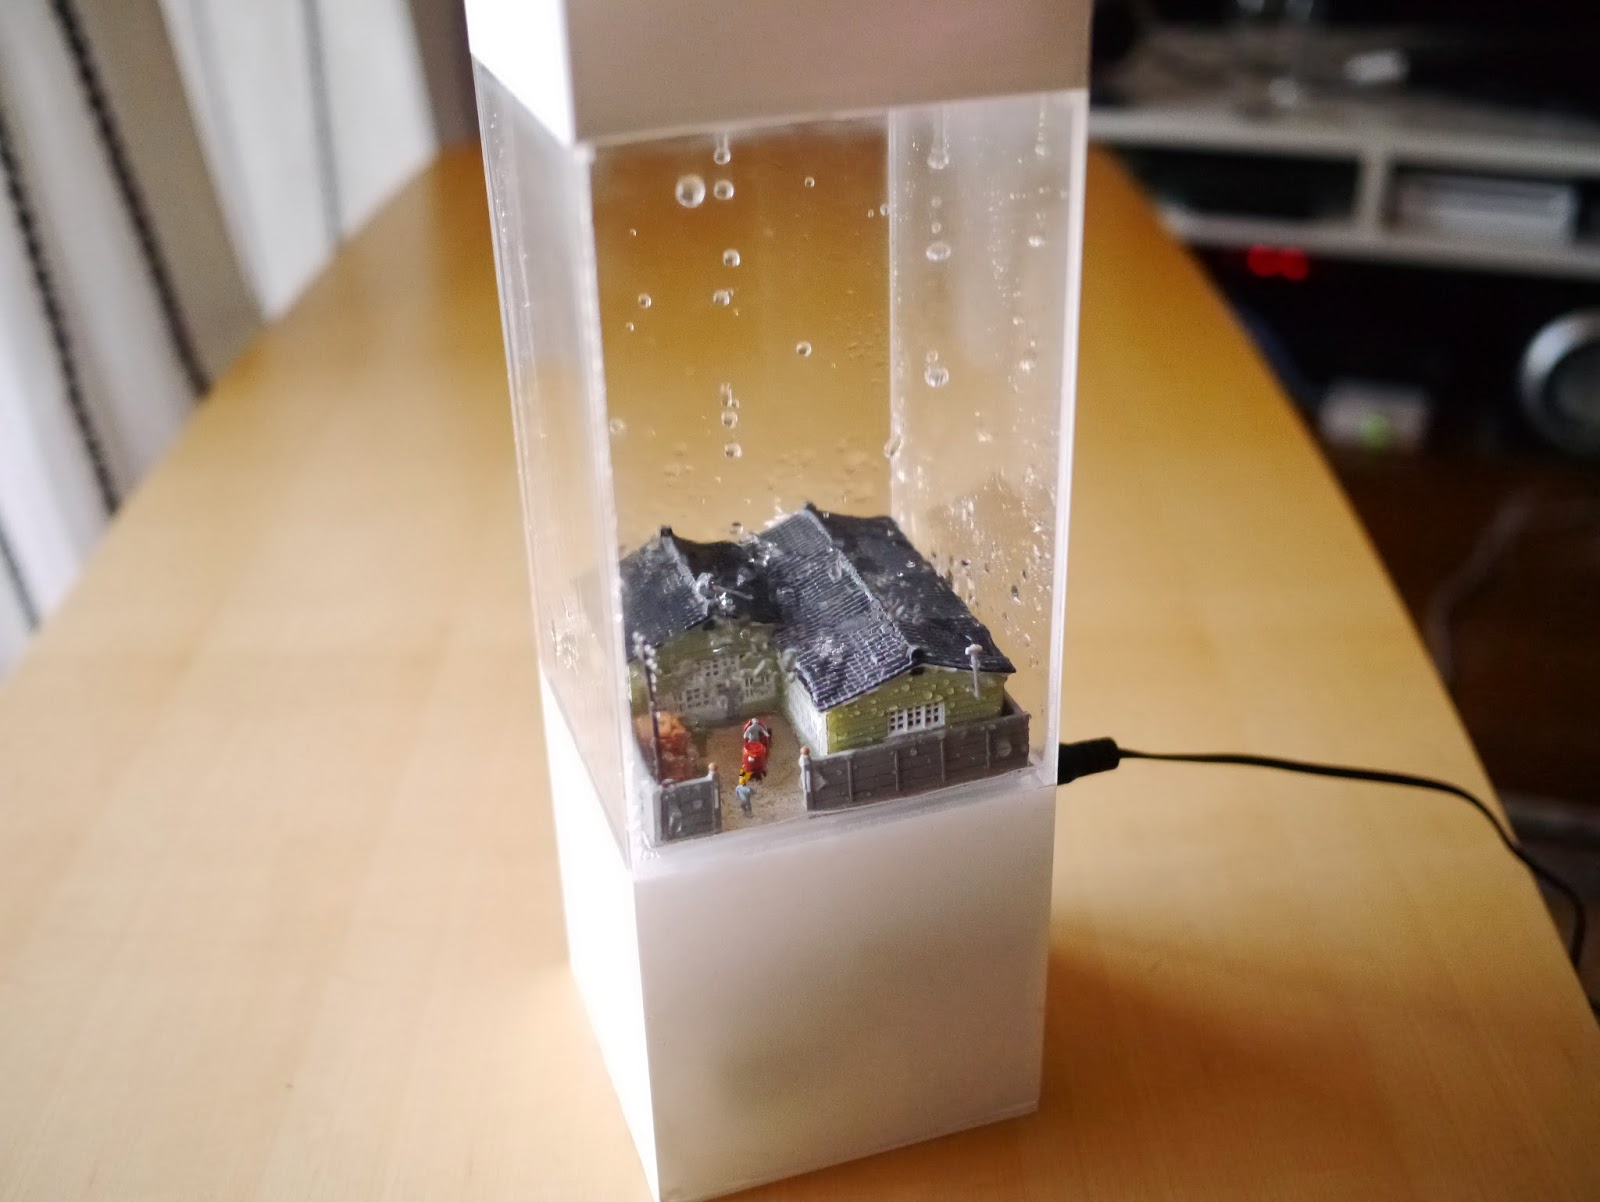
A physical weather display that recreates sunshine, rain, clouds, and lightning inside a sealed box. You can place tomorrow's sky in the hallway, or bring the current sky of a distant city to your bookshelf. All schematics and source code were released as open source, and the project later launched as a crowdfunding campaign on Indiegogo.
The Idea
It all started on a beach in Saipan. Watching a towering cumulonimbus cloud drift across the horizon, I caught myself wishing I could take that piece of the sky home and keep it in my room in Tokyo.
When we check our phones, weather arrives as raw numbers and little umbrella icons. But when we look out the window in the morning, what we perceive isn't data—it's the ambient presence of the atmosphere. Instead of forcing you to interpret symbols, Tempescope lets water drip, clouds form, and light flicker through clouds, bringing tomorrow’s sky into your living room as an effortless, glanceable part of your surroundings.
From Rough Prototype to Open Source
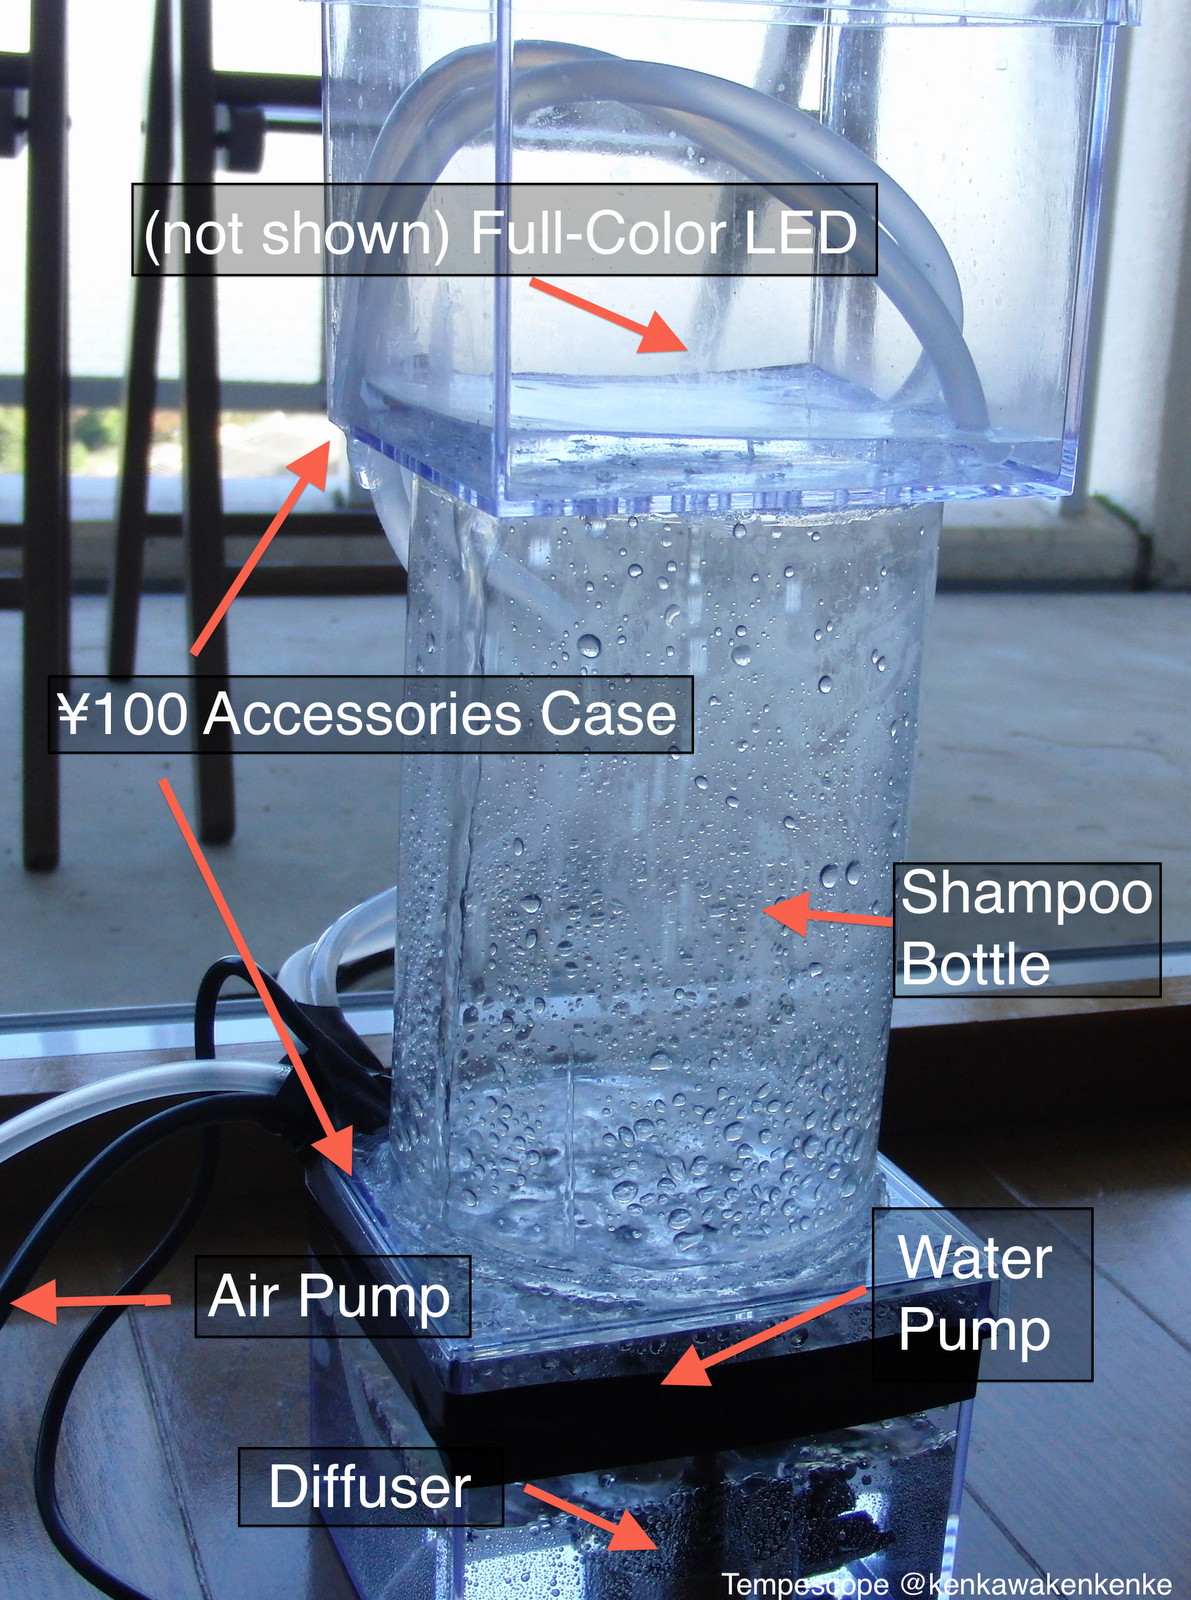
The very first prototype was a crude weekend hack built inside a 100-yen shampoo bottle, packed with a tiny water pump and an ultrasonic mist maker. Controlled by forecast data streamed from a computer, the small prototype still dripped rain and formed clouds from the ultrasonic mist.
Following an unexpected wave of online attention, I redesigned it from scratch so anyone could build their own using laser-cut acrylic sheets and off-the-shelf electronics, releasing it as Open Tempescope. Photos began arriving from makers around the world who had built their own, and the project won the Hardware Category Award at Mashup Awards 9.
Attempt at Crowdfunding
To bring the device to a broader audience, I teamed up with passionate collaborators in Tokyo to launch an Indiegogo crowdfunding campaign. The concept video garnered over 2 million views, leading to coverage in media outlets worldwide.
Unfortunately we missed the crowdfunding target, and manufacturing physical hardware at scale proved to be a challenge, so we ultimately couldn't bring it to mass commercial production. Even so, Tempescope remains the foundational project that defined my passion for blurring the boundaries between the digital and physical worlds.
Ever since we released the open source version, we received an overwhelming response from all around the world, especially from people asking, "I don't have the tools to build one, how can I buy it?"
To make that possible, we teamed up with a passionate crew in Tokyo, redesigned the mechanics and electronics from scratch, and built a production-ready prototype.
On our campaign page, you can check out our new concept video showing the Tempescope recreating rain, clouds, and lightning right inside a living room.
Please head over to our Indiegogo page and check it out!
It suddenly struck me: clicking points on a computer monitor map is so completely 1990s.
So I decided to make the Tempescope controllable using a real, physical paper map.
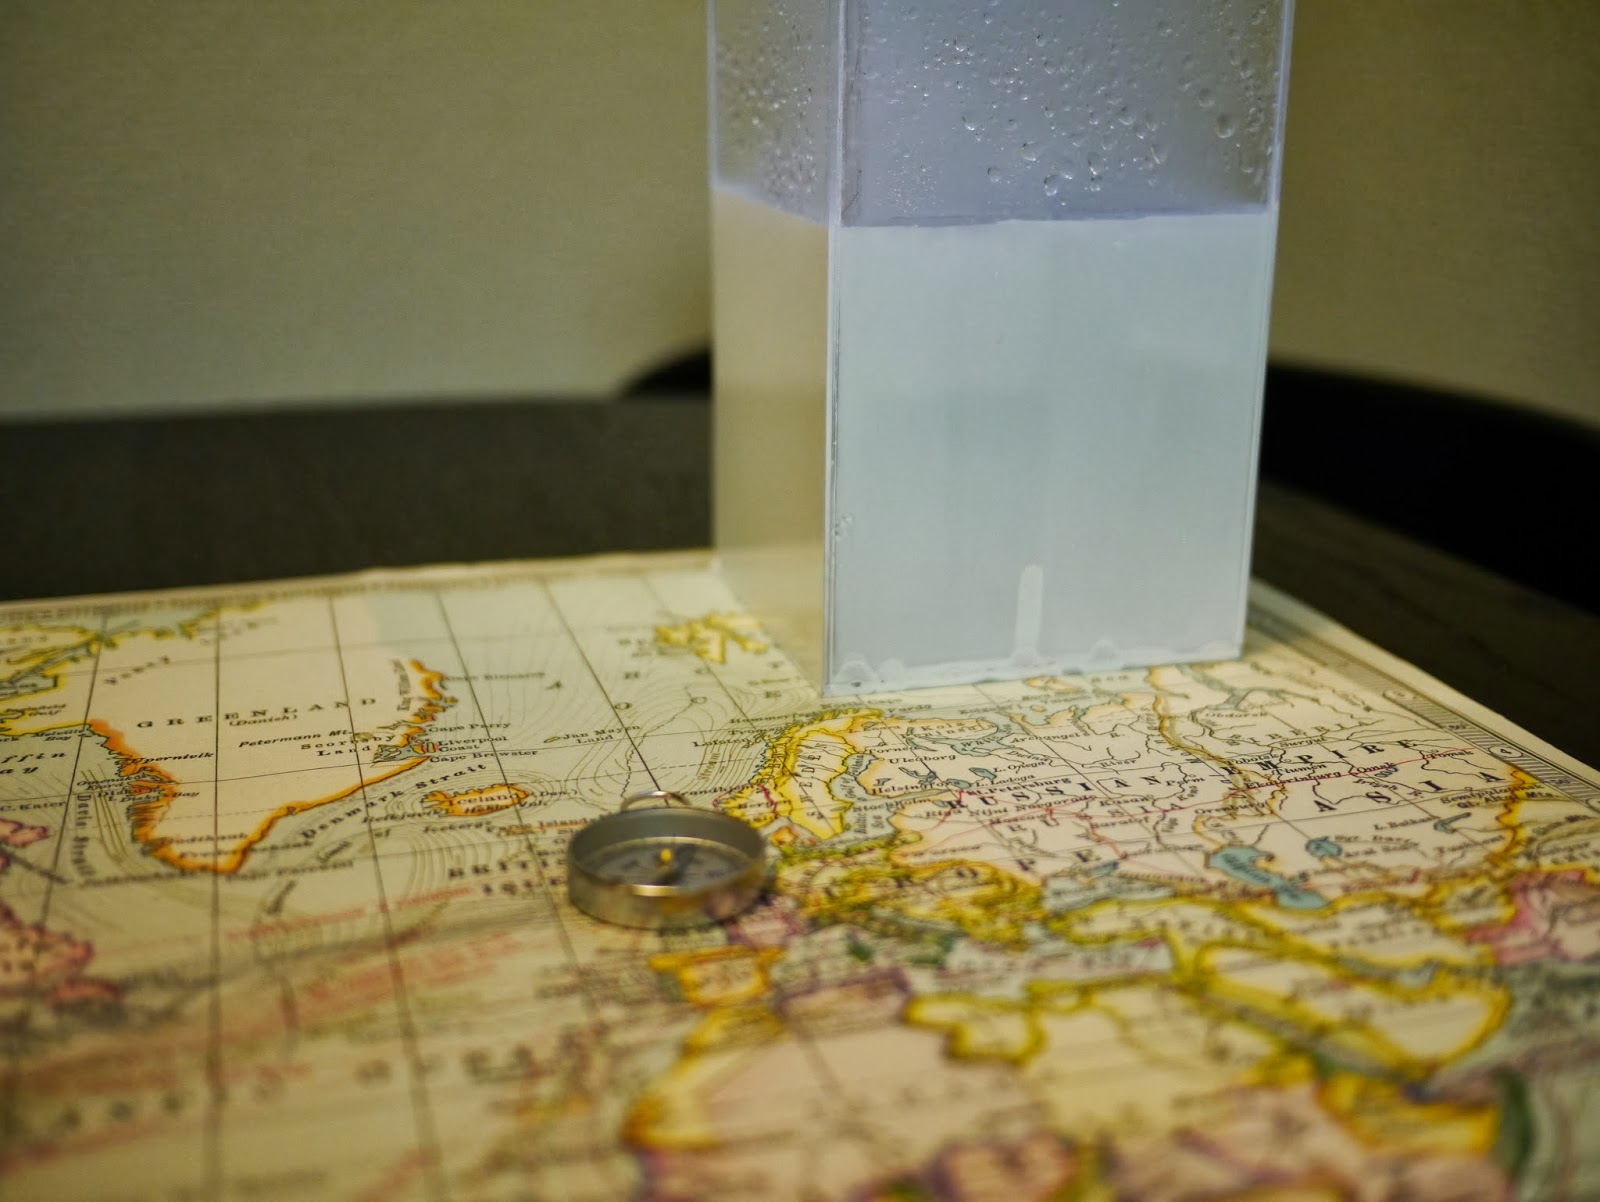
Place a physical compass anywhere on the map, and the tempescope brings the location's sky to life.
Setup
Get a map, a Tempescope, and something compass-like.
An aged, vintage-looking map sets the mood best. (Picked this one up for ¥500 at a quirky boutique in Tachikawa.)
It doesn't strictly have to be a compass. A miniature battleship model, a glass float, or anything that looks like a 19th-century navigator's relic works nicely.
The map and the Tempescope.
A miniature warship also does the trick. (A vintage sailing galleon would have been cooler, though.)
Set up a camera.
Any spot works as long as the entire map is within frame.
Just position it casually—we’ll correct the perspective with keystone correction later.
The camera, perched atop an electric smoothie maker won at a wedding reception after-party, perched atop a chair. Unrelated side note: the desk is from IKEA. Highly recommended dining table for compact dining rooms.
Keystone correction (homography).
Naturally, raw camera photos show the map heavily distorted into a trapezoid. To map image pixels to geographic coordinates on the map, we need to rectify the perspective. If you're unfamiliar with how this works, search for homography in computer vision.
Selecting the map boundaries. I did it by manual input here out of sheer laziness. You could easily automate it with feature detection like SURF.
Result after keystone correction. Even from such an aggressive angle, it flattens out remarkably cleanly.
Recognizing the compass (or whatever object you used).
Now we detect the item a navigator placed on the map to indicate a location.
Again, you could use robust object recognition models, but taking the lazy route, I just detected it via frame differencing.
As you can see below, the placement coordinates are tracked reliably.
Someone might ask, "Why not slap a barcode marker on it and use ARToolKit?" Because fiducial markers look atrocious. They completely ruin the vintage cartography aesthetic. Frankly, I have yet to see a single place where fiducial markers look visually pleasing. Long live markerless tracking.
A blue bounding box tracking the identified compass.
Replaying weather inside Tempescope.
Calculate the geographic coordinates based on the pixel position on the map.
(Unless your map uses some truly eccentric projection, this is trivial math. A standard Mercator projection map makes life easiest.)
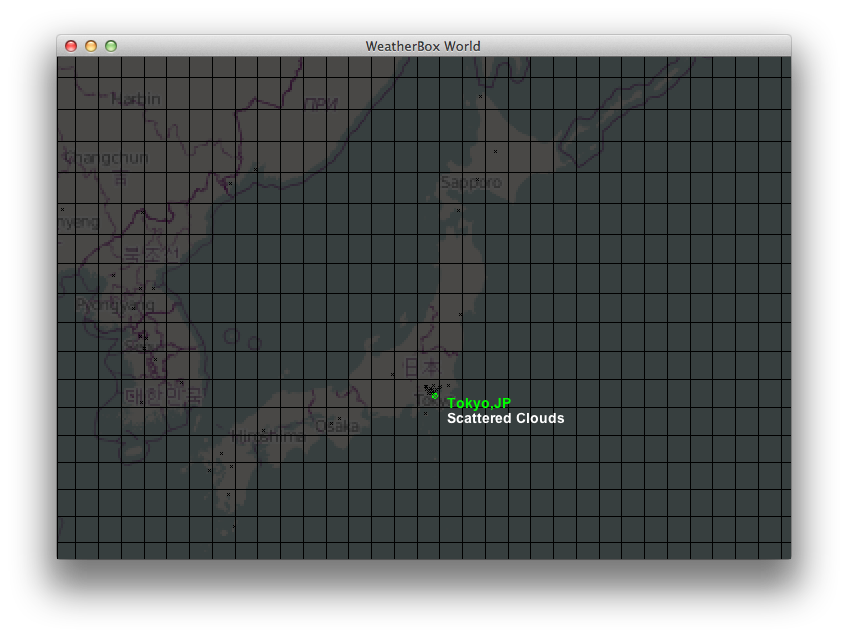
Then, query the weather at that location via the Weather Underground API, stream that state to Tempescope, and let it simulate the weather.
Here’s a video of it running in action.
The laptop screen isn’t strictly required for operation, but I left it visible for demonstration purposes.
Notice how snappy and responsive it is!
Takeaways
Blending vintage antiques with digital computation feels genuinely magical. It wouldn't look out of place resting quietly in an old dusty library.
Making the Tempescope controllable wirelessly from a PC was definitely the right design call.
What kind of objects look best on a vintage map? I need to develop a better eye for prop styling.
Simulating the terrain atmosphere inside the box—like stormy ocean waves or savanna grasslands—would make it feel even more like a portal to faraway travel.
A while back, I published Tempescope, an ambient physical display that simulates weather inside a little box, to make knowing tomorrow's weather as easy as looking outside the window.
I have now redesigned and published a new, open source version here: http://tempescope.com
The major changes are:
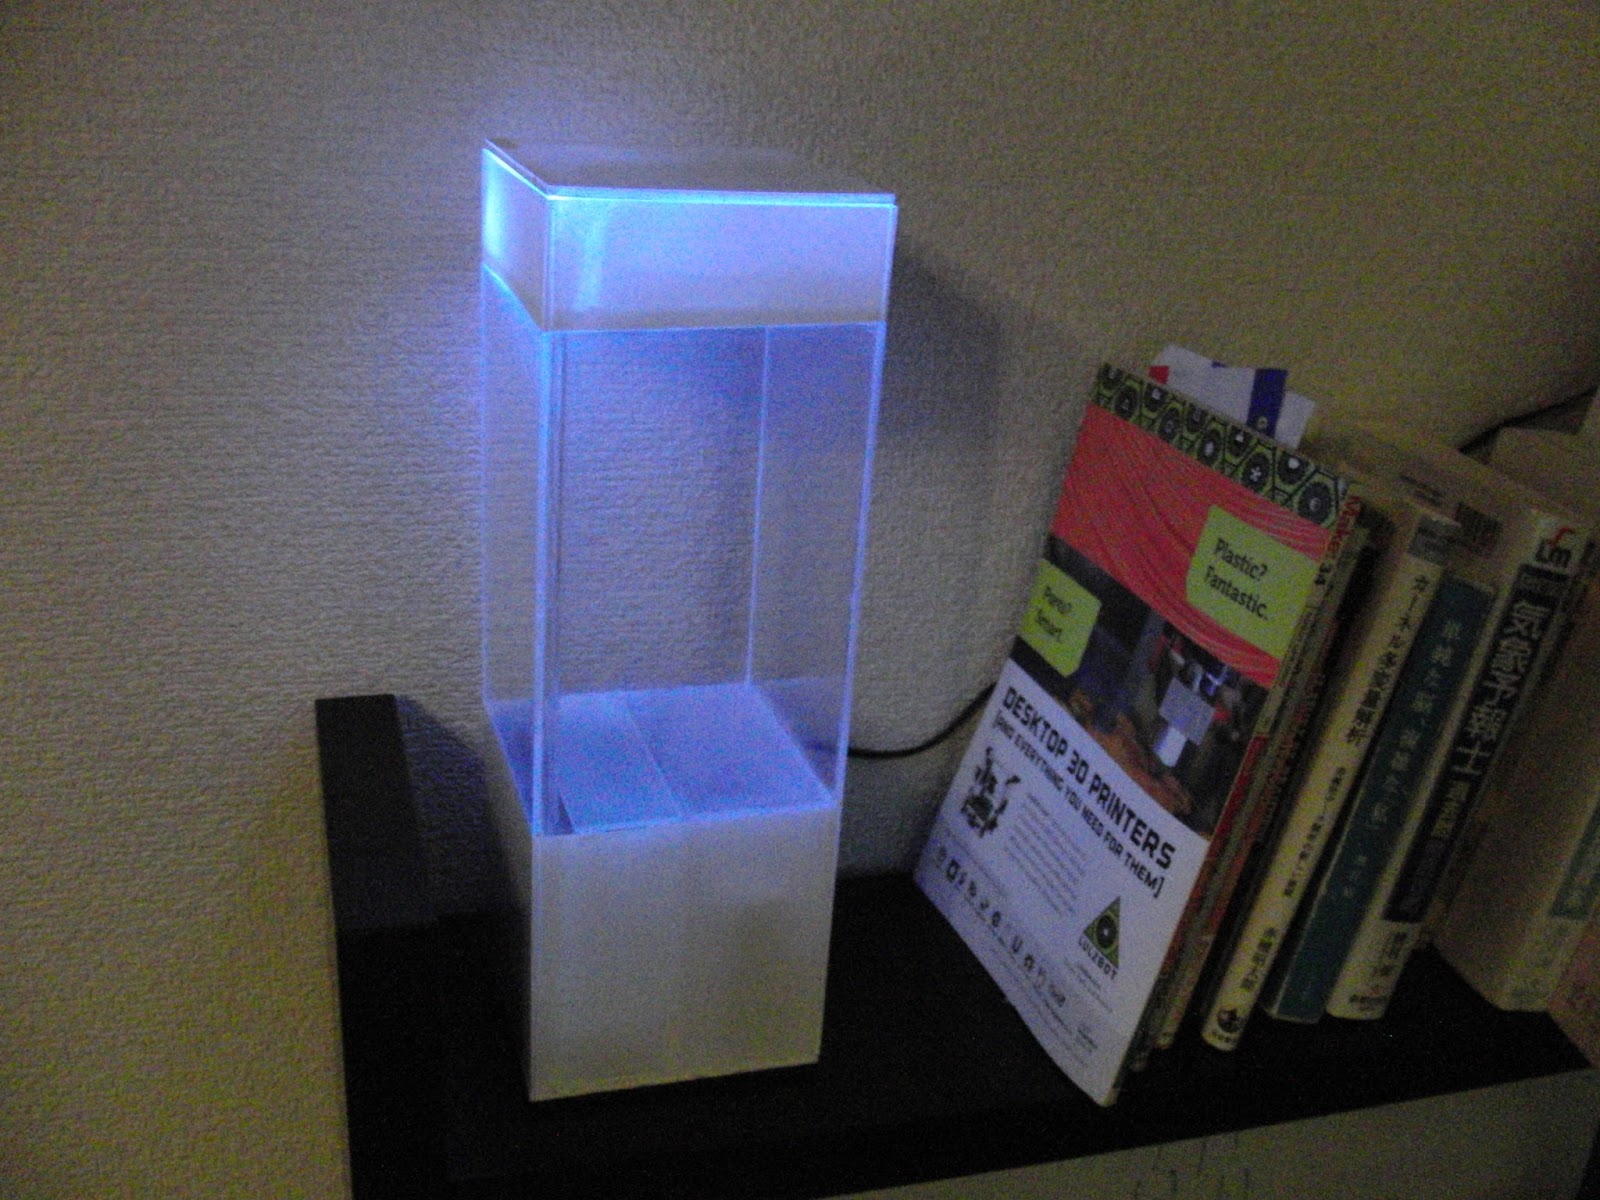
the build only requires basic materials like acrylic boards and electrical components (apart from the water pump and mist diffuser)
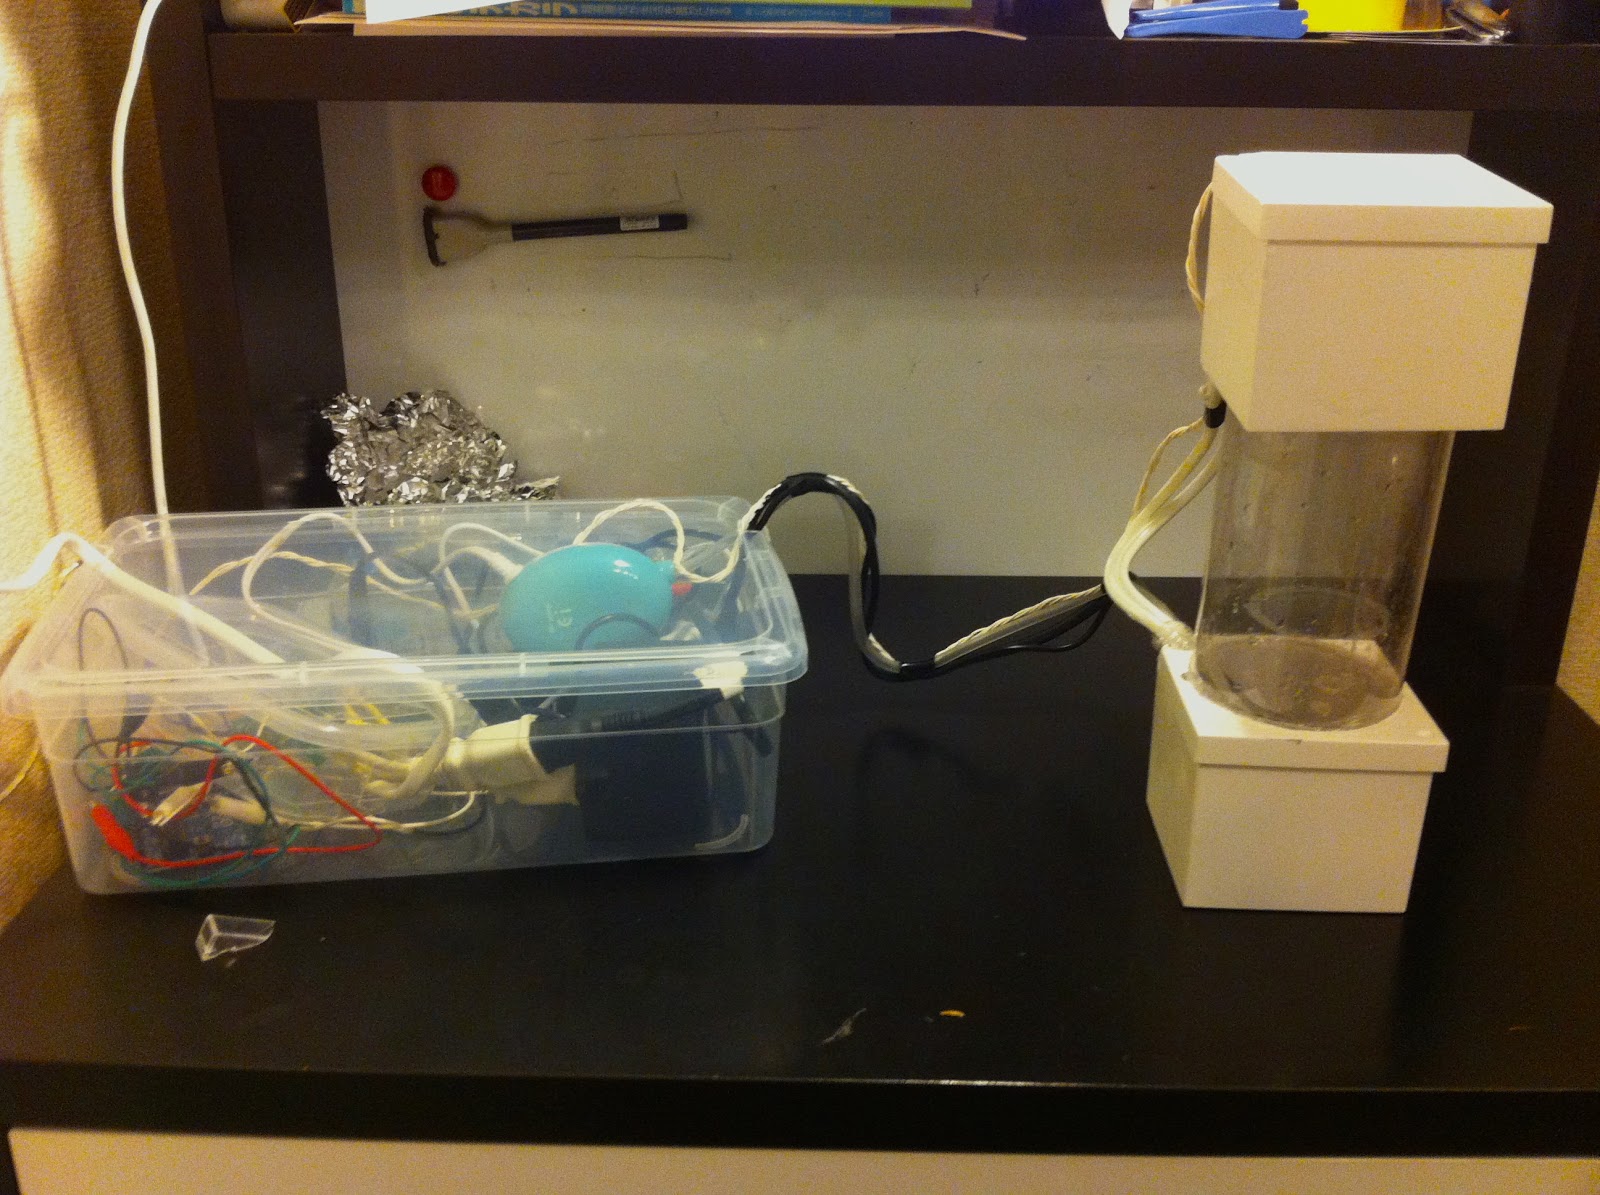
the entire system is now self-contained inside the box (whereas before there was a separate shoe-box containing the circuits)
it takes roughly $80 to build (less than half the previous version which took $150)
The schematics and CAD diagrams, as well as the software are all available open sourced on the above website, and anyone is free to build Tempescope.
Instructions on building is also being updated daily, and we almost have complete coverage of the entire build flow.
Not too much has changed in terms of functionality.
A PC program reading weather forecasts from Wunderground controls Tempescope to simulate various kinds of weather including:
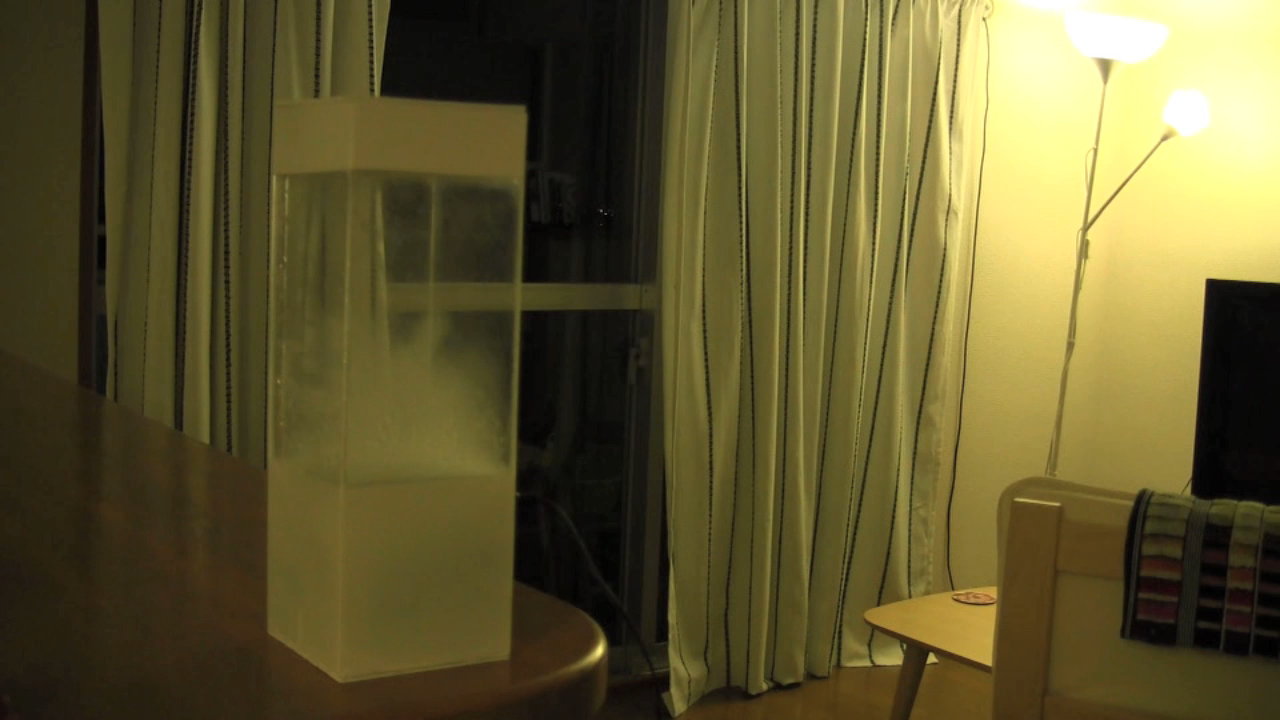
clouds,
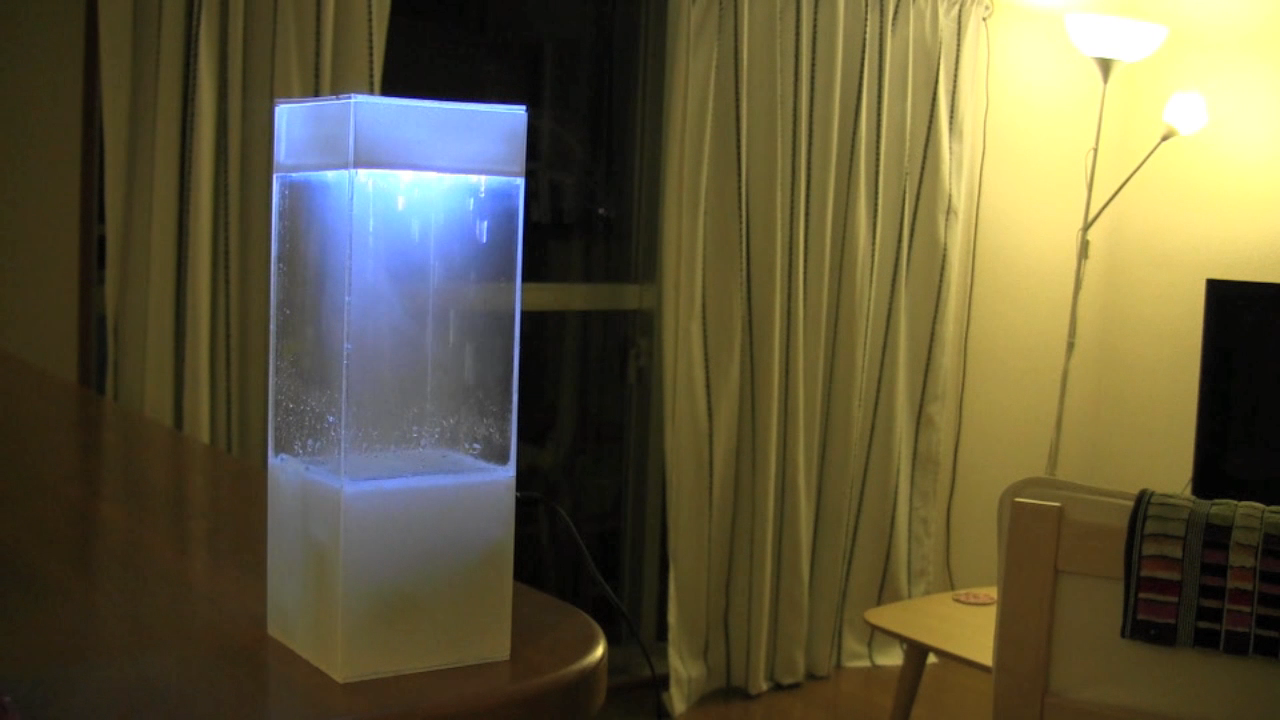
rain and lightning,
and of course sunny weather.
You can also build all kinds of applications using the developer library, like programs that let you know the weather of whoever you're taking to on Skype!
and an acrylic casing (which you cut and build yourself)
I've received many e-mails after releasing the previous version asking how to build the previous Tempescope; please let me know if anyone builds the new, opensourced Tempescope!
Finding out tomorrow's weather forecast usually involves actively searching on the web, waiting on the news channel, or resorting to widgets.
How great would it be if this was as easy as looking outside the window?
This thought led me to build Tempescope, a physical display that can reproduce (and ambiently notify) weather conditions, inside your room.
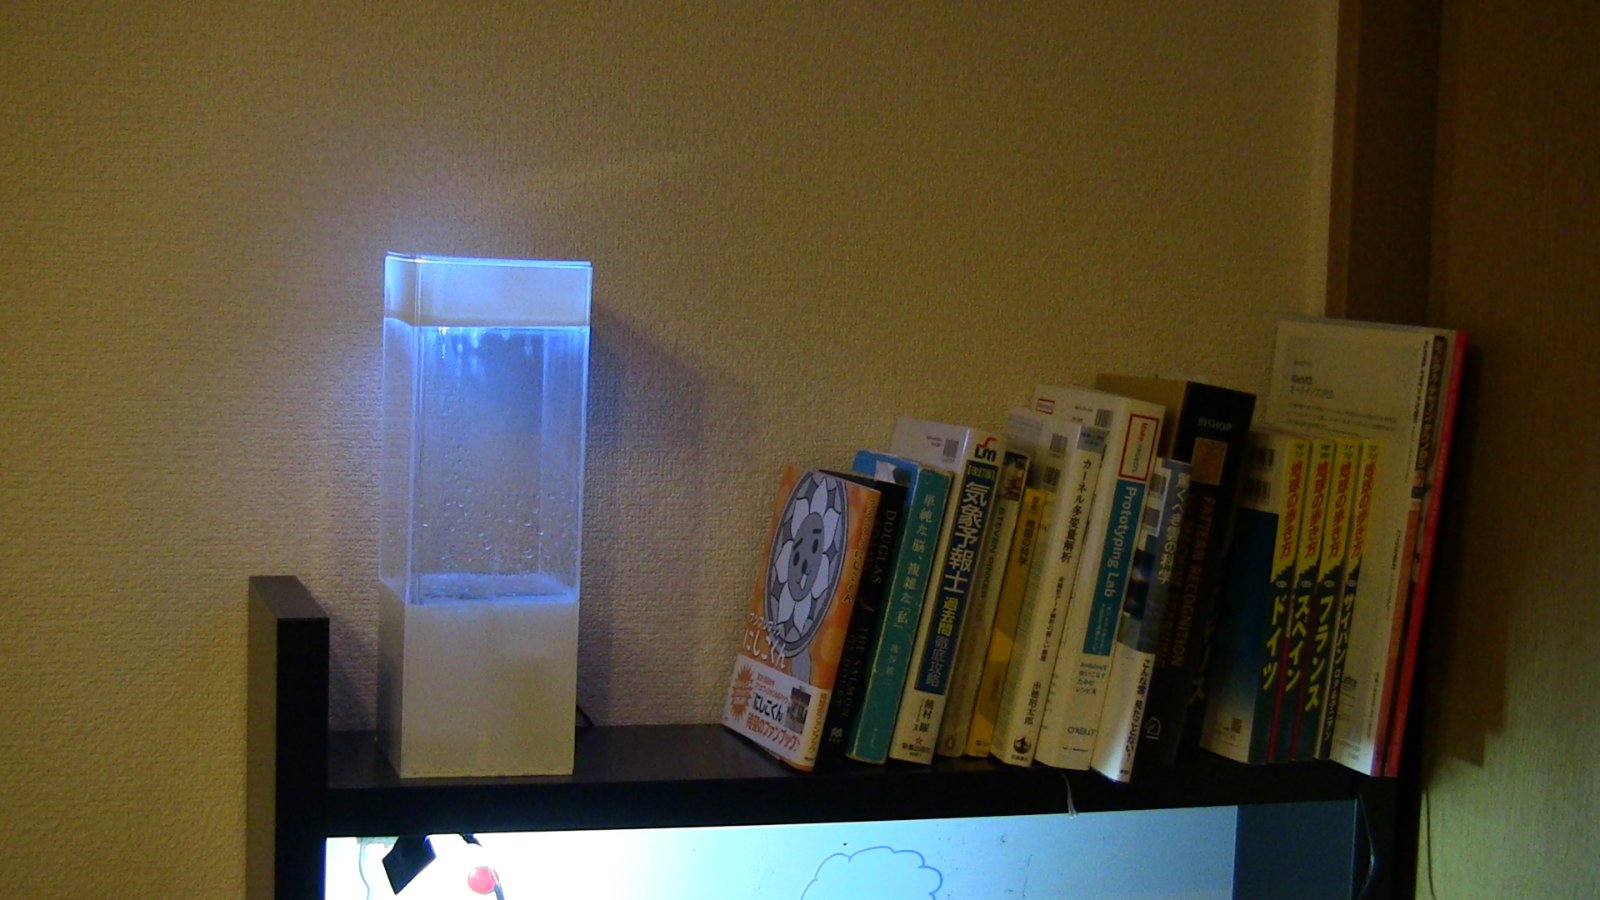
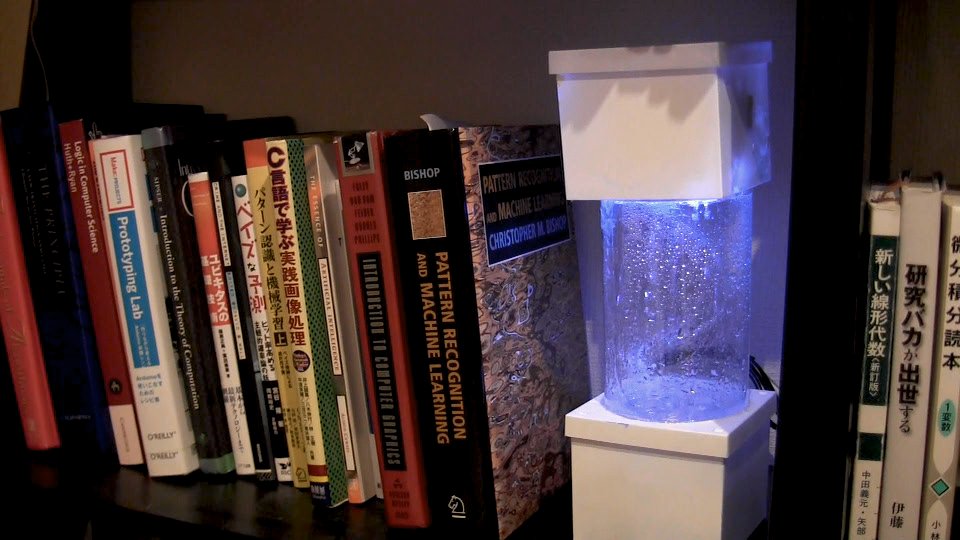
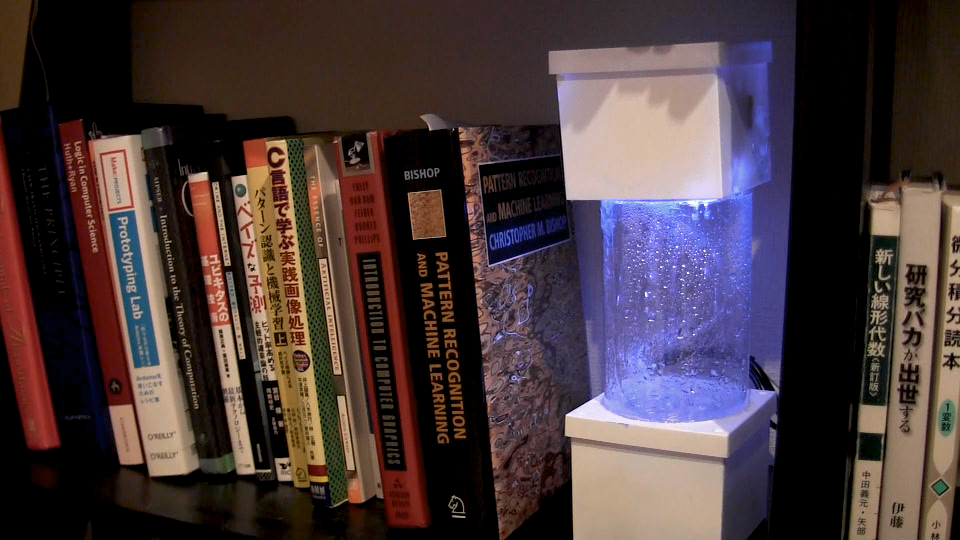
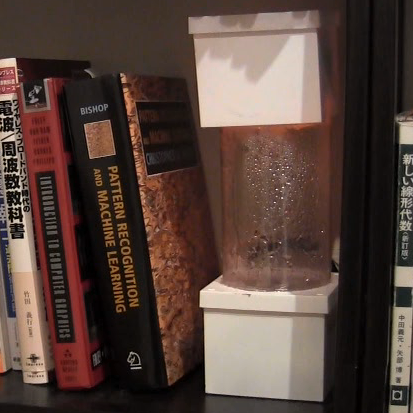
Tempescope fits snuggly in your bookeshelf.
The Prototype
After several weekends' work, I ended up with this prototype which can simulate four weather conditions: rain, clouds, sunshine, and lightning.
It can also reproduce various colours of the sky, giving visual cues for the time of day.
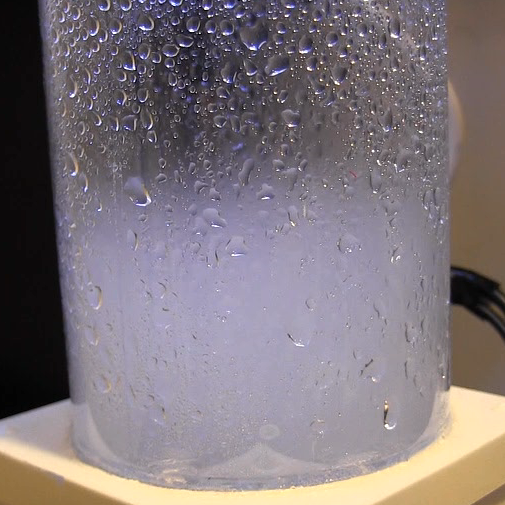
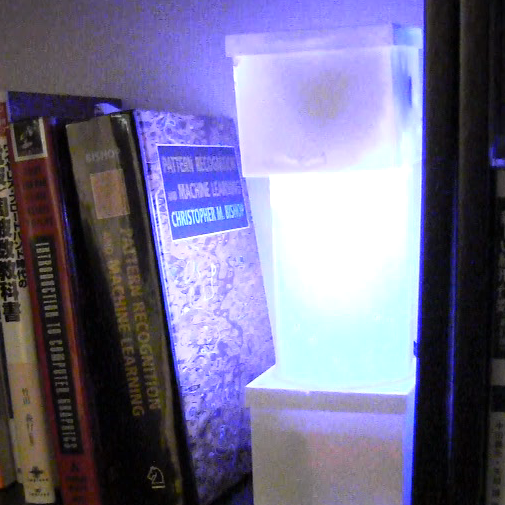
Clouds
Lightning
Sunrise!
Rain
The device is controlled by an Arduino, which interfaces with a PC via USB or Bluetooth.
There are currently two modes of operation, both of which run as PC programs:
"Tomorrow's weather"- which animates tomorrow's weather forecast, and
"World weather"- which reproduces the current weather of any location in the world.
While the former is what I originally intended to make, the latter may be what makes Tempescope interesting, and really worth working on in the future.
One can view the device as containing a teleported slice of a remote world, a little Barbados in your room.
It paves a way for all sorts of applications, some nostalgic (e.g have a slice of your hometown in your office), and some practical (e.g watching out for your loved ones halfway across the globe).
There are many extensions that I could make on the device, including snow, wind, real lightning, and showing land features.
I'd be grateful for opinions, or suggestions for uses.
Some References
There are several past projects/ideas I believe I'd been inspired by:
A 1000 year old example of having "a piece of wild nature in your room".
The Making
Mechanics
Weather conditions are reproduced by using 2 pumps, an ultrasound diffuser, and an LED:
rain- the water pump pushes water from the lower chamber to the upper chamber, allowing water to fall through holes drilled at the bottom of the chamber.
cloud- the ultrasound diffuser in the lower chamber turns on, creating mist. An external air pump pushes air (and mist) up from the lower chamber into the cylinder stage.
lightning- the full-color LED is turned on at random intervals
sunlight- the full-color LED changes colour from off to red to blueish white, depending on the time of day.
Electronics
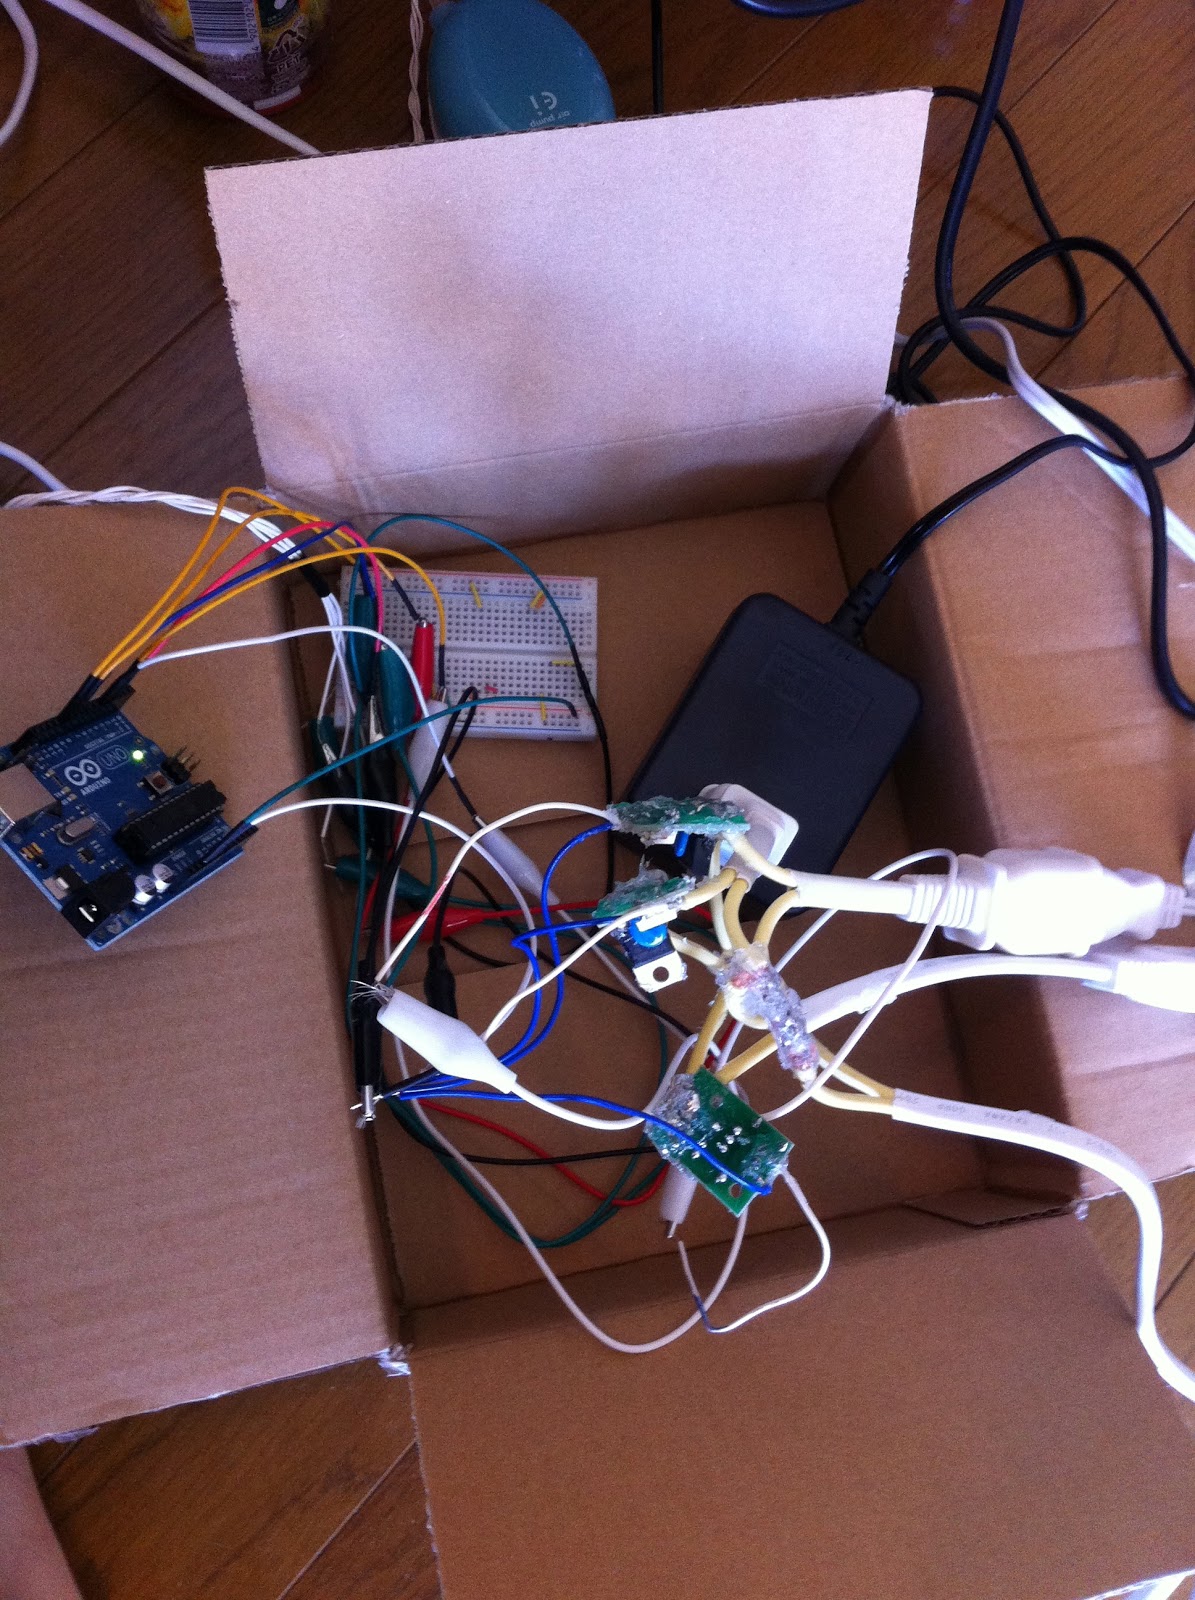
The electronics involved is not very much: an Arduino Uno controlling 3 SSRs and a full-color LED.
There is also attached an SD card, which allows animation sequences to be saved and replayed without a PC.
Arduino and 3xSSRs
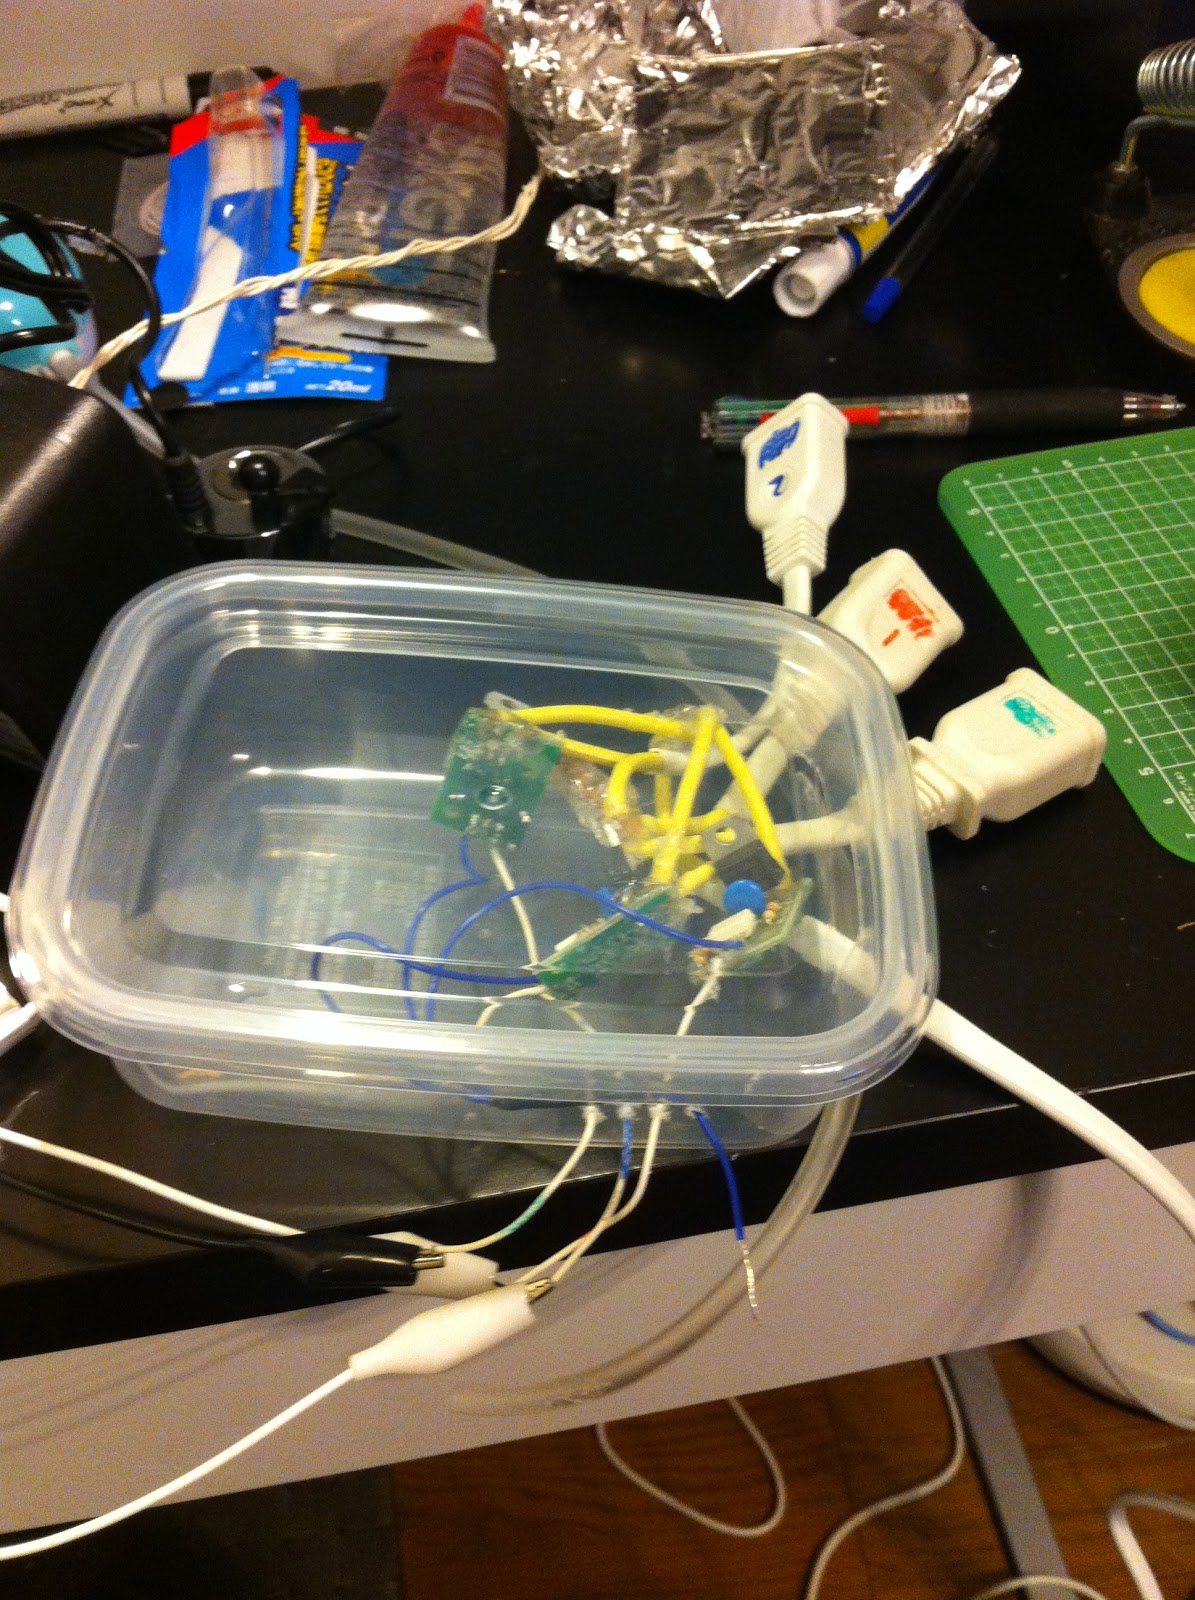
AC electronics (moderately) safely packaged
The final product
Here's the list of hardware used:
Ultrasonic Diffuser (Denshi Trade) ¥3,500=$43
Water pump e-ROKA PF-381 (Gex) ¥1000=$12
Air pump Ei (Kotobuki) ¥1000=$12
Software
Arduino side: also not very much, though saving+loading from SD card takes some work
PC side:
Both modes of operation ("Tomorrow's weather" and "World weather") are based on data acquired from Wunderground's API.
This API allows requesting the current weather, or forecasted weather from global coordinates.
Both apps have been written as a Java application, but really anything would suffice.