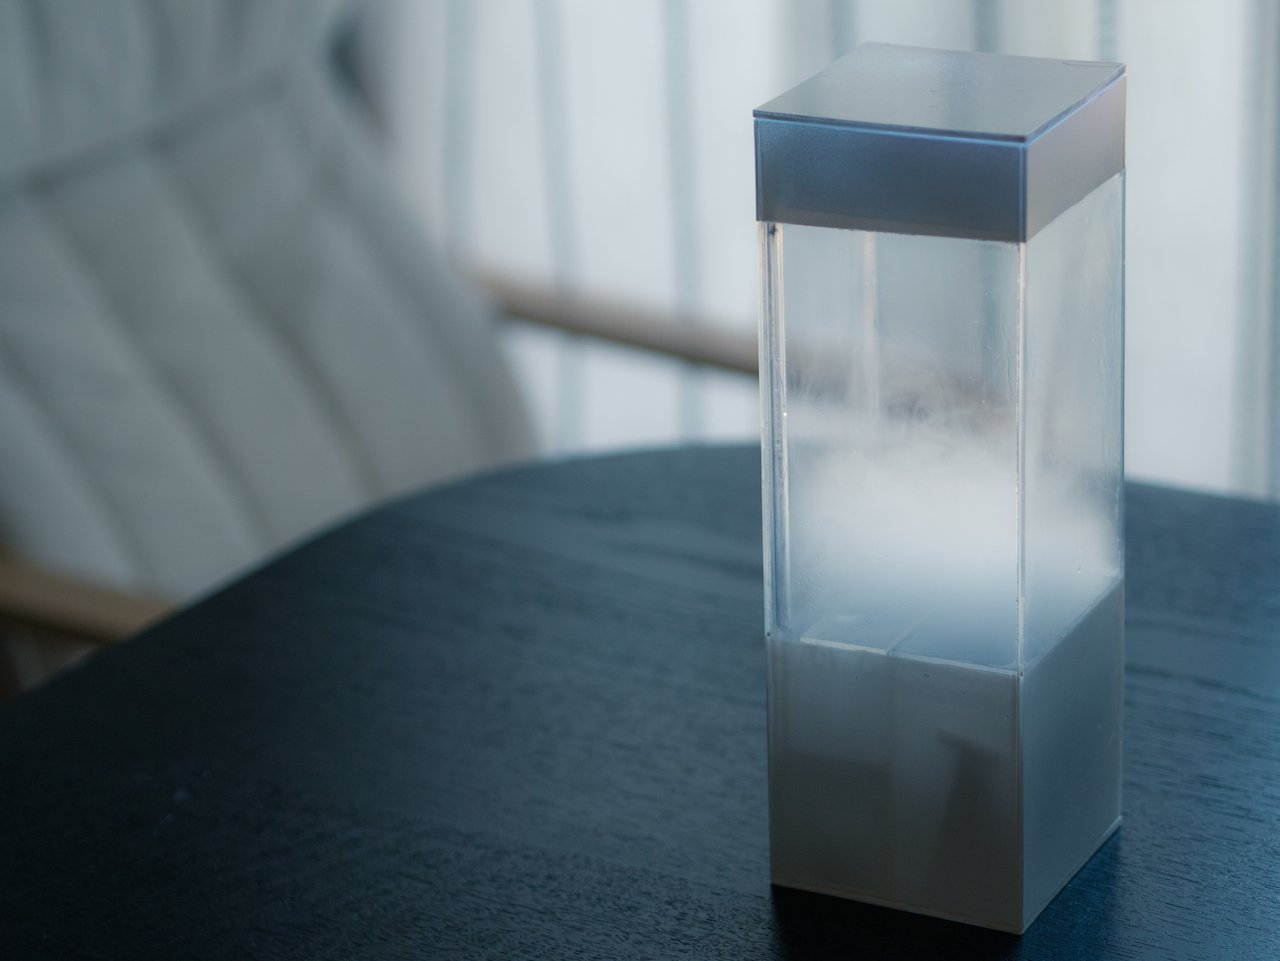
 tempescopeA box of rain in your living room
Playing with Tempescope, part 2: control the tempescope with a map
It suddenly struck me: clicking points on a computer monitor map is so completely 1990s.
So I decided to make the Tempescope controllable using a real, physical paper map.

Place a physical compass anywhere on the map, and the tempescope brings the location's sky to life.
Setup
- Get a map, a Tempescope, and something compass-like.
An aged, vintage-looking map sets the mood best. (Picked this one up for ¥500 at a quirky boutique in Tachikawa.)
It doesn't strictly have to be a compass. A miniature battleship model, a glass float, or anything that looks like a 19th-century navigator's relic works nicely.
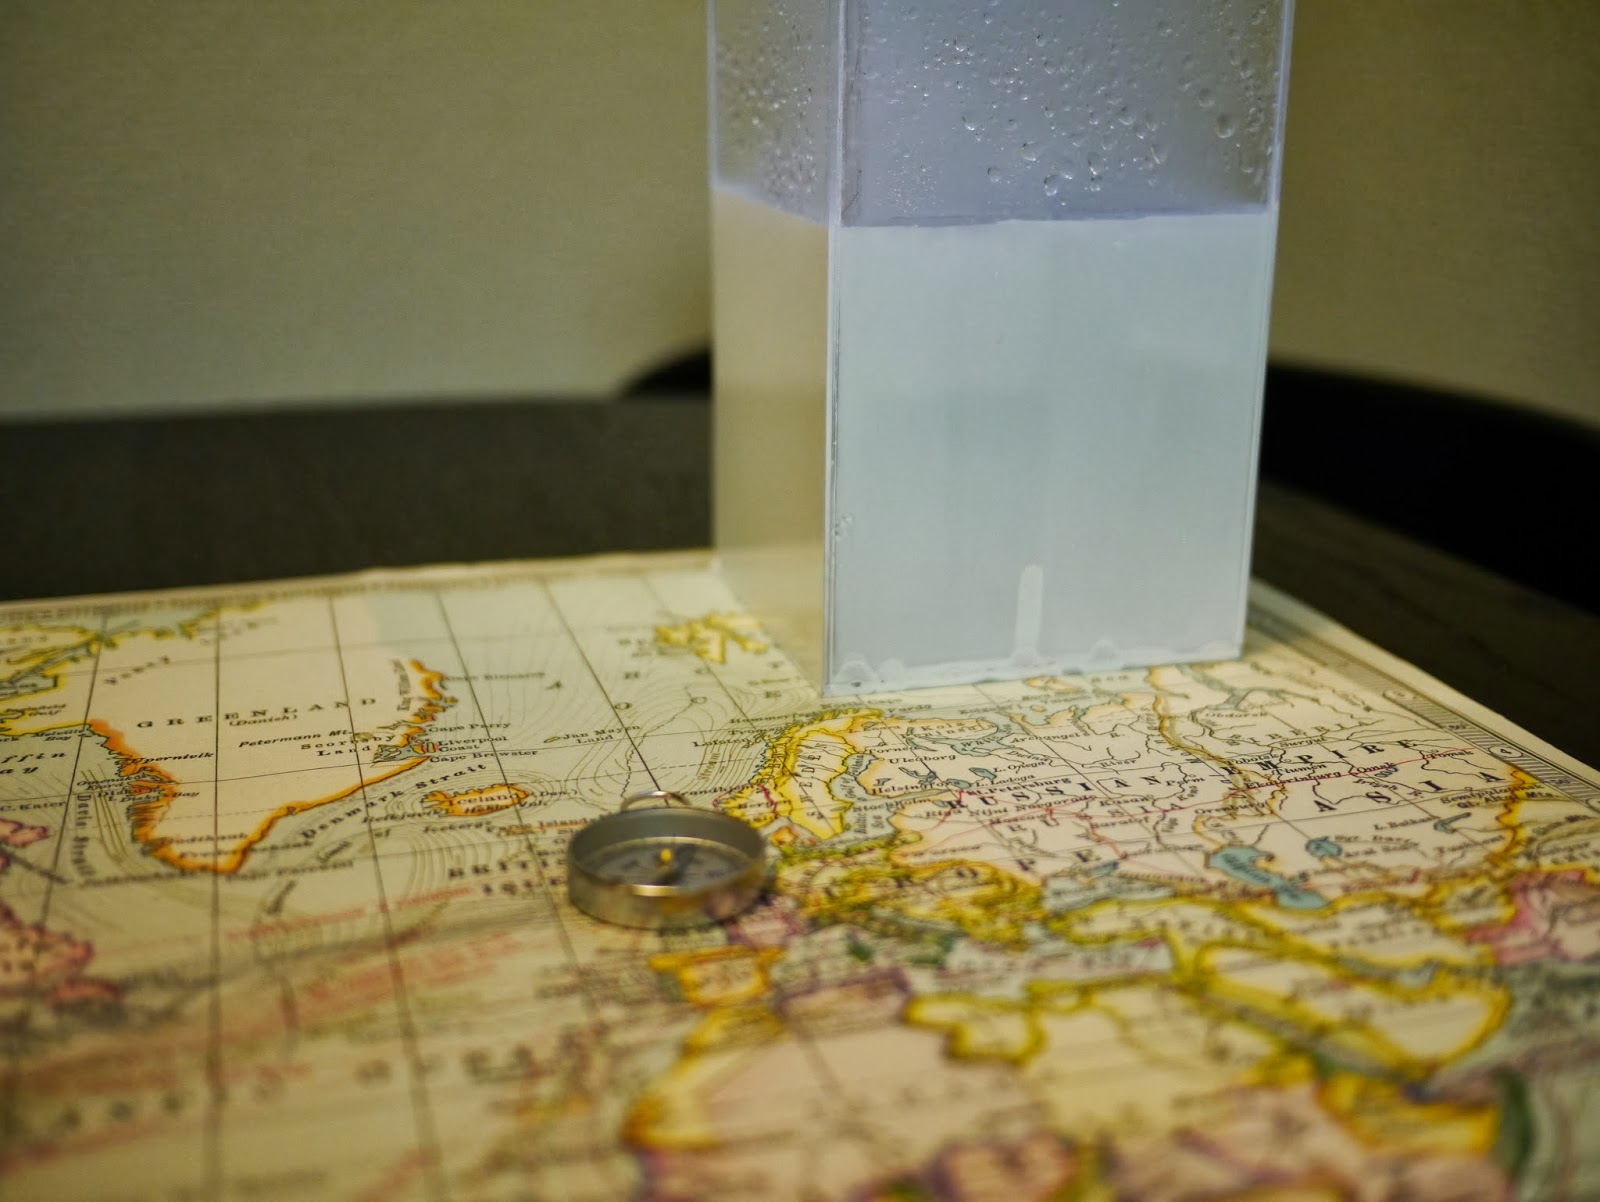
The map and the Tempescope.

A miniature warship also does the trick. (A vintage sailing galleon would have been cooler, though.)
- Set up a camera.
Any spot works as long as the entire map is within frame.
Just position it casually—we’ll correct the perspective with keystone correction later.

The camera, perched atop an electric smoothie maker won at a wedding reception after-party, perched atop a chair. Unrelated side note: the desk is from IKEA. Highly recommended dining table for compact dining rooms.
- Keystone correction (homography).
Naturally, raw camera photos show the map heavily distorted into a trapezoid. To map image pixels to geographic coordinates on the map, we need to rectify the perspective. If you're unfamiliar with how this works, search for homography in computer vision.

Selecting the map boundaries. I did it by manual input here out of sheer laziness. You could easily automate it with feature detection like SURF.

Result after keystone correction. Even from such an aggressive angle, it flattens out remarkably cleanly.
- Recognizing the compass (or whatever object you used).
Now we detect the item a navigator placed on the map to indicate a location.
Again, you could use robust object recognition models, but taking the lazy route, I just detected it via frame differencing.
As you can see below, the placement coordinates are tracked reliably.
Someone might ask, "Why not slap a barcode marker on it and use ARToolKit?" Because fiducial markers look atrocious. They completely ruin the vintage cartography aesthetic. Frankly, I have yet to see a single place where fiducial markers look visually pleasing. Long live markerless tracking.

A blue bounding box tracking the identified compass.
- Replaying weather inside Tempescope.
Calculate the geographic coordinates based on the pixel position on the map.
(Unless your map uses some truly eccentric projection, this is trivial math. A standard Mercator projection map makes life easiest.)
Then, query the weather at that location via the Weather Underground API, stream that state to Tempescope, and let it simulate the weather.
Here’s a video of it running in action.
The laptop screen isn’t strictly required for operation, but I left it visible for demonstration purposes.
Notice how snappy and responsive it is!
Takeaways
- Blending vintage antiques with digital computation feels genuinely magical. It wouldn't look out of place resting quietly in an old dusty library.
- Making the Tempescope controllable wirelessly from a PC was definitely the right design call.
- What kind of objects look best on a vintage map? I need to develop a better eye for prop styling.
- Simulating the terrain atmosphere inside the box—like stormy ocean waves or savanna grasslands—would make it feel even more like a portal to faraway travel.